Creating and using document presets
imperia CMS offers you the opportunity to create document presets based on imperia-Templates. You can create any number of presets for each template. Possible examples would be document presets for news pages, for the presentation of a certain assortment or service or to represent an organization chart.
Document presets are created by using One-Click-Edit (OCE) and assigned to one or more categories. If a document preset is assigned to a category as mandatory, a document created for this category has to be created with exactly this preset.
Within the document workflow, the step Preset (Selection of the document preset) is implemented by its own Workflow-Plugin, which can be configured by users with corresponding permissions.
Users with the required authorizations may also share document presets.
Creating a preset#
Note
Before document presets can be used, you first need to add One-Click Edit to your browser. The OCE toolbar will then offer you the Preset option.
- Navigate to the page you want to use as the basis for your document preset.
-
Carry out the Preset option in the OCE toolbar.
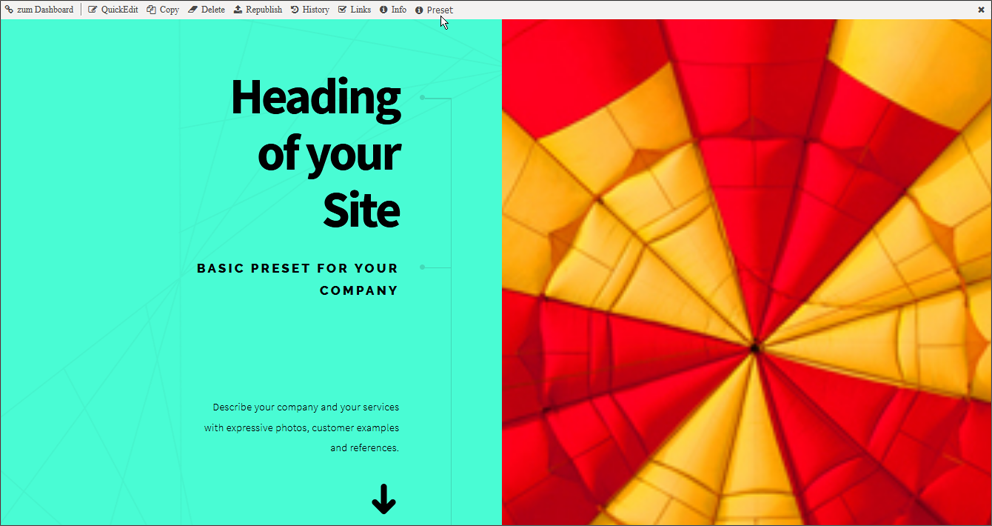
A screenshot is made of the page. The screenshot automatically resizes the width of the page to 300 pixels. The dialog for configuring the preset opens.
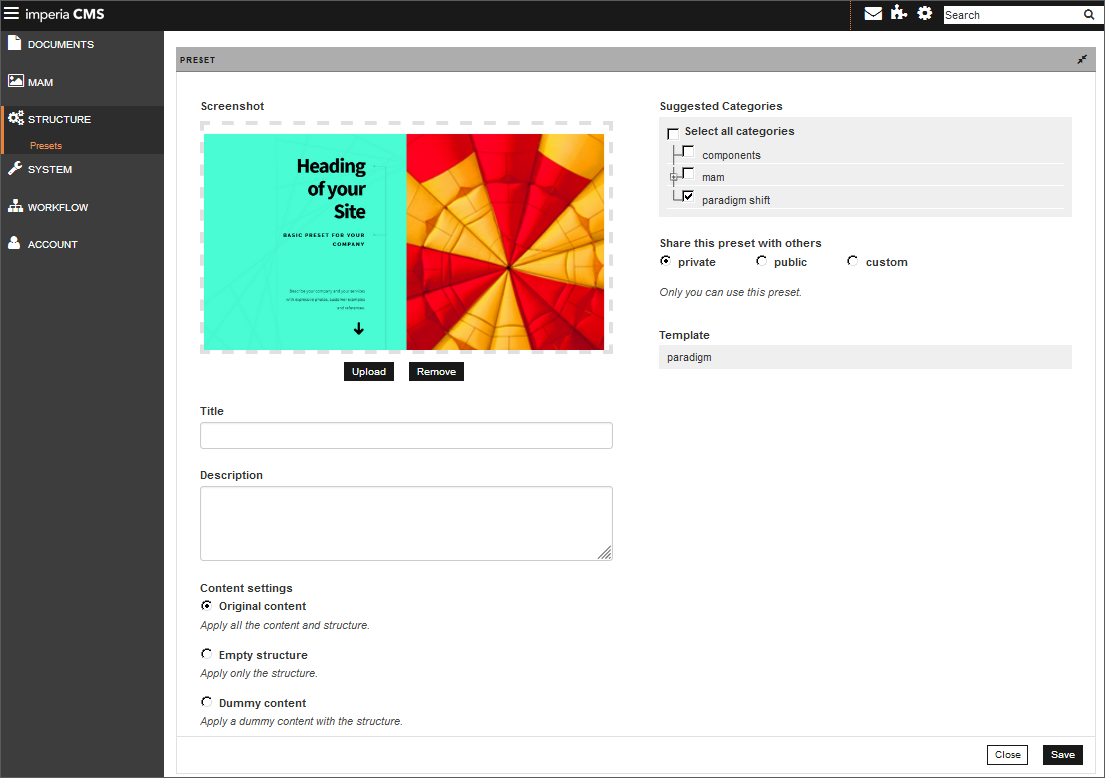
-
Enter a name for the preset in the Title input field.
- Enter a description of the preset under Description. The Template on which the document preset is based is displayed as read-only.
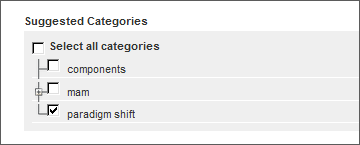
- Select the Categories for which you want the template to be proposed when creating a document.
- If you have the appropriate rights, you can share the preset with other users. To do this, activate one of the radio buttons offered:
- private: Only you are allowed to use the preset.
- public: Everyone can use the preset.
- custom: Only members of certain groups can use the preset. In this case, enter the groups you want to share the preset with.
- Create the preset content. You are offered three variants:
- Original content: Choose this option if you want to use the original content of the source document.
- Empty structure: If this option is selected, the entire content (texts and media) is deleted from the meta information.
- Dummy content: Use this variant if you want to replace the text content with a standard text ("Lorem ipsum") and the images with standard images.
- Click Save to save your settings.
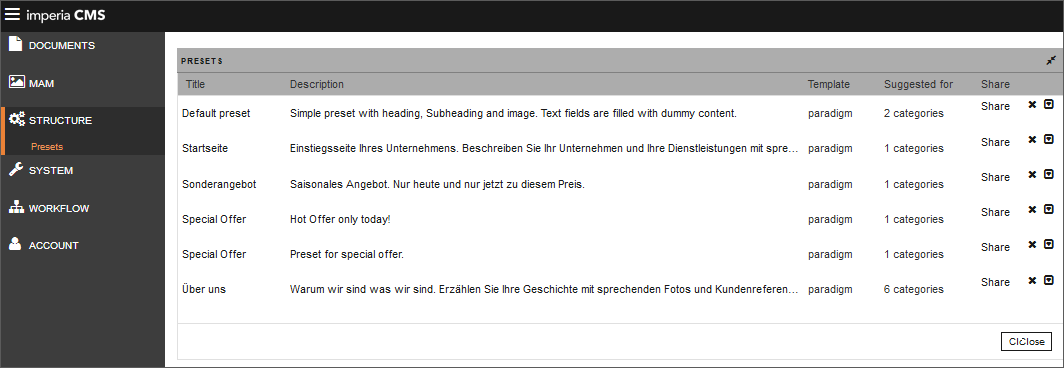
The overview of the document presets appears.
Editing a preset#
-
Open the list of document presets via Structure / Presets. Depending on your permission, you will only see your own presets, the presets shared with your group, or all system presets. For each preset, its name, description, and the template on which the preset is based are displayed. You can also see the number of sections for which the preset is suggested and the number of documents created with the preset.
-
If you have the appropriate permissions, you can use the Share option to assign read and write permissions to groups and thus share the preset with other users.
-
Click on the desired preset in the overview. The dialog for configuring the preset opens.
- To change the preset properties, proceed as described in Creating a preset .
- Click Save to save your settings.
The overview of the document presets appears.
Assigning a preset to a category#
- Open the list of document templates as described under Editing a preset.
- Click on the desired preset in the overview. The dialog for configuring the preset opens.
- Select the Categories for which you want the template to be proposed when creating a document. To do this, activate the checkboxes in the categories structure. You can propose the template for all categories by clicking the checkbox Select all categories.
- Click Save to save your settings.
The overview of the document presets appears.
Deleting a preset#
- Open the list of document templates as described under Editing a preset.
- In the row of the preset you want to remove, click the Delete icon.
- Confirm the security prompt that appears.
The document preset is deleted.