Sending and receiving e-mails
imperia has two possibilities to send mails to internal or external addressees.
Sending and receiving internal e-mails#
You can easily access the imperia internal mail system via the symbol in the header. The number of unread messages is also displayed here.
Use the internal mail system to send and receive e-mails to, resp. from other imperia users within your system.
Note
This is not an e-mail client, so you can neither send e-mails to external addresses (addressee@domain.com) nor receive external e-mails.
In an additional inbox notification, you will find information at a glance about the date, sender and subject of a new or unread e-mail. You will also be notified via the internal mail system when you have been assigned a document.
Tipp
Use the 2-column view so that you can see your inbox on the left and write new e-mails on the right. In order to do so, simply click on the symbol "Minimize/Maximize" symbol on the right side of the grey bar. 
Reading an e-mail#

The mailbox displays all messages in tabular form. Subject, date, and sender are displayed for each e-mail. For new or unread messages, an arrow appears in front of the e-mail subject.
There are several ways to open an e-mail:
- If you want to open an e-mail from the inbox notification, click on the subject or the sender of the e-mail.
- When the mailbox is open, click on its subject or sender.
- Use Back to return to your mailbox.
- Alternatively, call up your e-mails via the symbol in the header.
- You can also access your e-mails via Account -> Messages.
Composing an e-mail#
- Click Compose mail in your mailbox.
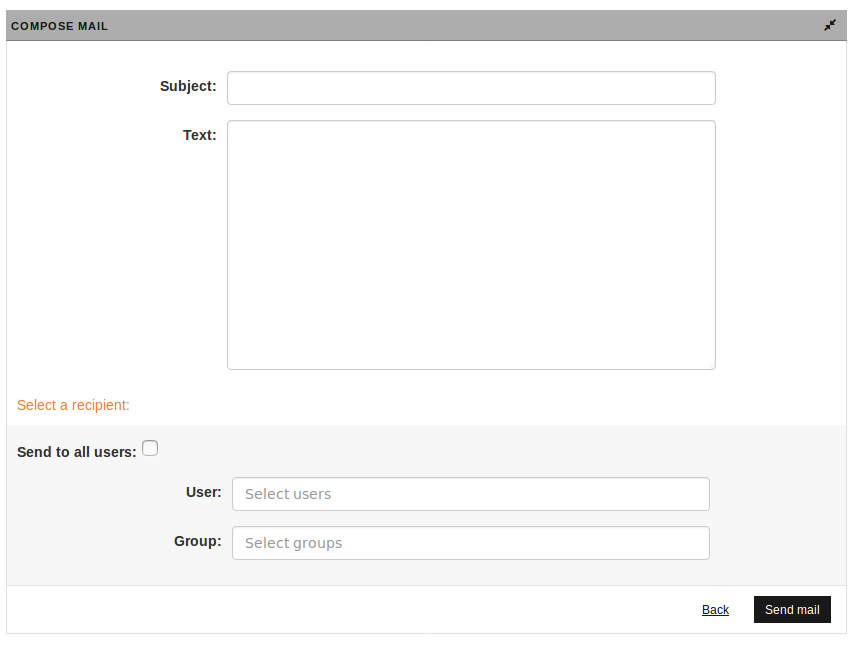
- Enter the subject and the text of the message.
-
Select the recipients:
- Activate the checkbox Send to all users if you want the mail to reach all users except yourself.
- If necessary, select the recipients from the list of all users in the User drop-down box. Select the users individually or write the desired names directly in the text field.
- Alternatively, you can reach the users via their group membership. Write the group name in the text field or select the desired group from the drop-down box Group.
-
Send the message by clicking Send mail.
The e-mail is sent directly. A short confirmation message appears.
Deleting an e-mail#
To delete an e-mail, click at the end of the message row in the mailbox.
Notification "Assigned document"#
Once you have been assigned a document, you will be notified via the internal mail system:

Open the e-mail by clicking on it.
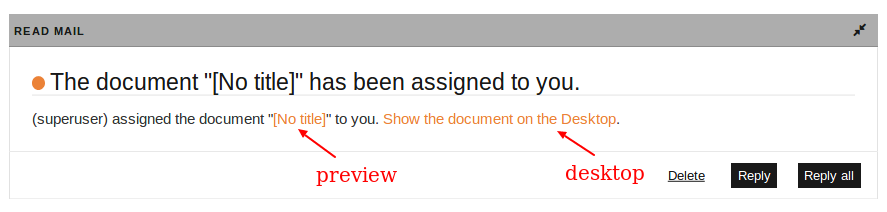
The message contains a link to the preview of the document and a link to the desktop.
- Click on the link Show the document on the Desktop.
The desktop opens. It displays only the document assigned to you.
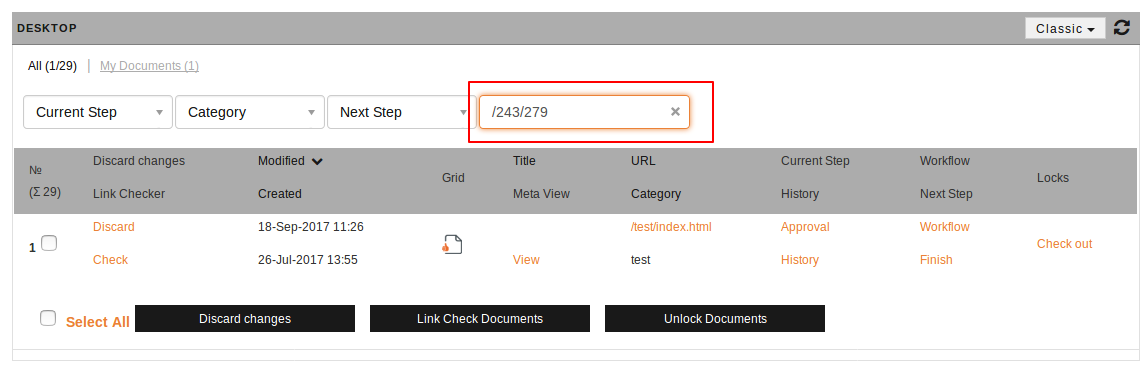
Click on the icon in the free text search to remove the filter on this document.
Sending external e-mails#
You can send an e-mail from the workflow. This can be sent to both internal and external recipients. To do this, there is the interactive Mail plug-in. You can use this plug-in to send automated e-mails for certain events in the workflow.
This Mail plugin is also the basis for forwarding internal messages to your own private, external e-mail address. This function can be found in the Look and Feel.