Creating the document content
In this workflow step, you create the content of your document.
The actual input view can be variably adapted to user requirements and thus be simpler or rather complex. For this reason, the processes described below are only examples. The processes and the design in your system can be different.
Templates are the central elements for entering content: In most cases, they contain the layout of the finished documents and specify the areas that must be edited by the user.
Sample structure of a document#
In our example, the document is structured in three levels:
-
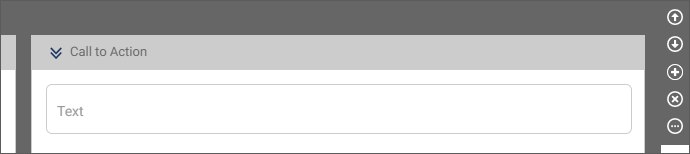
In the first level, slot modules are used to define the layout of the document in the form of columns. This layer forms the structural framework for the content modules. You can recognize slot modules by the dark gray frame and the module bar that is always visible on the right.
-
On a second level, flex modules represent the actual content modules such as headings, text paragraphs, lists, images, videos, etc., which can be combined as often and in any order as desired.
-
The third level contains so-called block modules, which can be utilized for repeatable content modules. Block modules can be used, for example, to create image galleries or lists. In this case, the image or list elements are simply duplicated.
Block modules are predefined and can be added in the same way as flex modules. They are identified by a light gray header.
Example for the layout of a document:
Layout and function of the form for content editing#

Toolbar: In the workflow step "Create content" an additional toolbar exists whose options only refer to this editing step:

Language: For multilingual documents, select a language version of the document from the drop-down list. The changes you then make apply to this language version.
Language options: This option allows you to copy content from other language versions.
Preview: This option opens an additional window with the output view.
Save: Use this option if you want to save the current processing status.
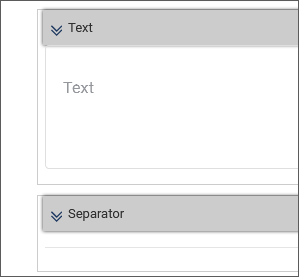
Module bar: Each structure and content module has its own module bar with options for the selected module. For a better overview, the module bar for the flex and block modules only appears when you move the mouse over the module header.

For slot modules, which form the layout and thus the frame for the content modules, the module bar is always visible.
Minimizing modules:
You can hide the content area for a module so that only the module header remains visible.
- Click the double arrow in front of the module title to hide the content area.
- Click again on the now horizontal arrow to show the content area again.
Inserting and editing content modules in a document#
When creating a document, a user can use a variety of content modules.
It depends on the configuration of the template on which the document is based, which modules and on which levels they can be inserted.
You have two options for inserting a new content module: Via the toolbar of an existing content module and via the placeholders provided by the template in the empty state of a document.
- Click on the plus symbol Add module in the toolbar.
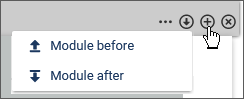
- Specify whether you want to insert the new module above or below the current module.
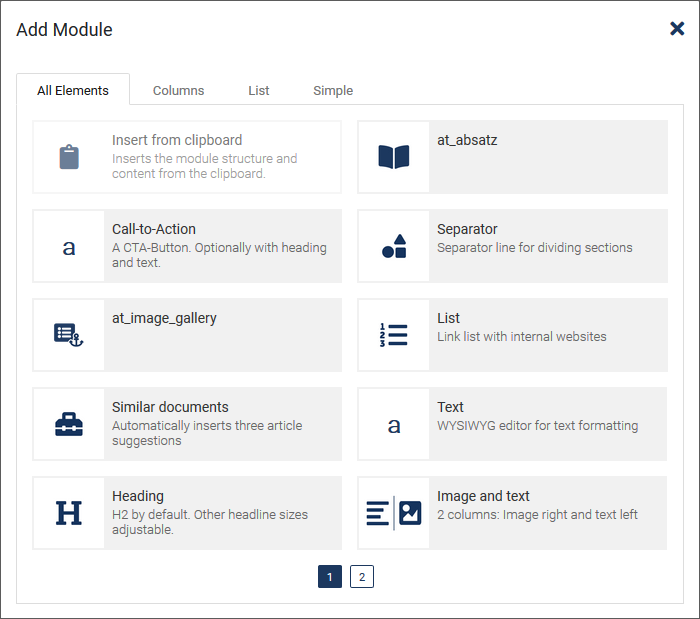
On the front tab of the dialog all modules defined in the Flex module management are provided.
The option Insert from clipboard can be used to add previously copied or cut modules and their contents.
To facilitate selection, the flex modules can be filtered by type on tabs like Simple, List and Columns.
-
Browse through the list of available modules by clicking on the page number below.
-
Select the desired module by clicking on it.
The module is inserted into the document.
The other way uses the placeholders provided in the template:
- In an empty document, run the ADD BLOCK or ADD FLEX option, which is always displayed below the last module.
Positioning a content module#
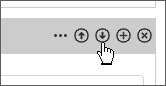
Optionally, move a content module to another position.
- Use the arrow symbols in the module bar to do this.
- You can also easily move content modules using Drag & Drop.
Note
When moving content modules, previously created content is retained.
Duplicating a content module#
- Duplicate a content module by clicking the Additional Options icon in the module bar, and then clicking Duplicate.
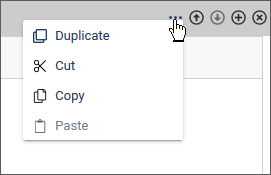
The content module is copied with its content and pasted below the original.
- Set the required parameters for the selected module.
Moving a content module#
- Move a content module by clicking the Additional Options icon in the module bar, and then clicking Cut.
The content module is now in the clipboard.
- Place the mouse cursor where you want the element to be copied and select Paste in the additional options.
The content module is cut with its content and inserted at the desired position. In difference to moving elements using the position arrows, you can move elements also between modules using the Cut and Paste options.
Copying a content module#
- Copy a content module by clicking the Additional Options icon in the module bar, and then clicking Copy.
The content module is now in the clipboard.
- Place the mouse cursor where you want the element to be copied and select Paste in the additional options.
The content module is copied with its content and inserted at the desired position.
Creating a list#
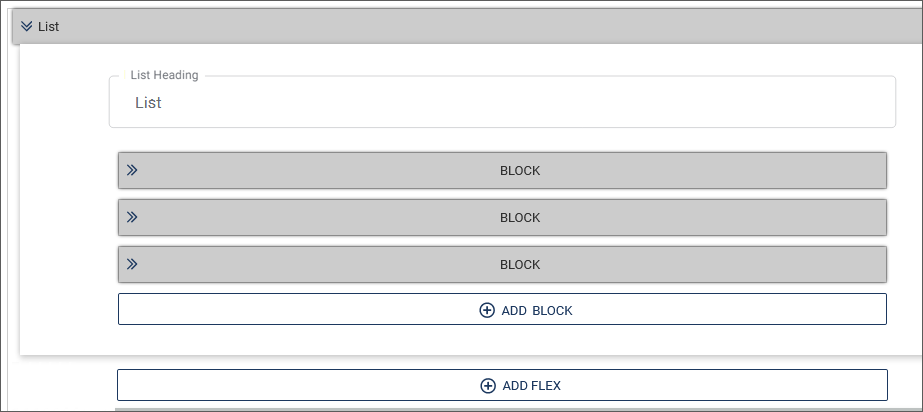
The list in our example has been created using the flex module "List" and block modules for the list entries.
- Click on the plus symbol Add module in the toolbar and specify whether you want to insert the list above or below the current element.
- Select "List" as the item you want to add.
The flex module "List" is added to the document.
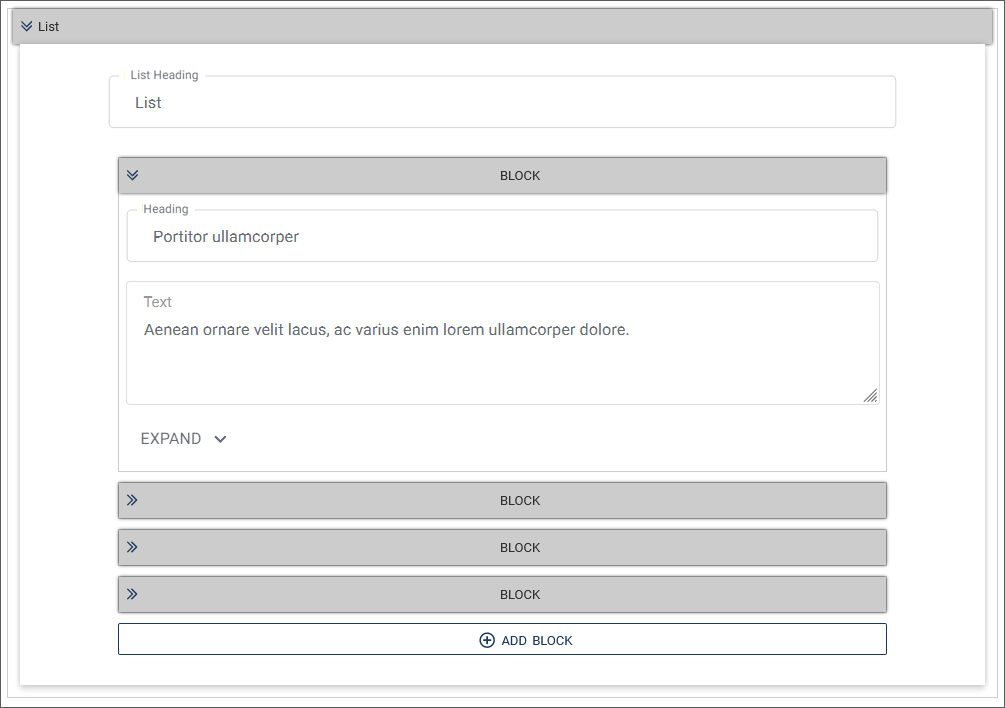
- Now fill the preconfigured list elements with content or add further list elements by clicking on ADD BLOCK below the list elements.
The list element is added.
Inserting an image#
There are two ways to insert an image into a document:
-
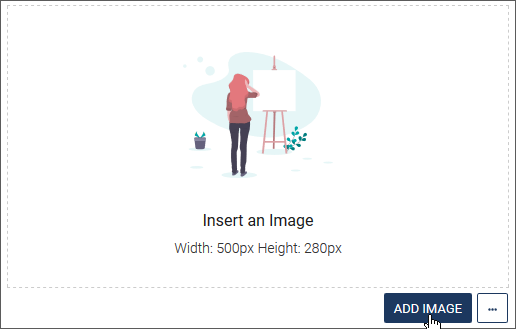
From Media Asset Management (by clicking on ADD IMAGE).
-
As a simple image upload (by clicking on Image options/Upload).
Both variants are available in the template by calling Media Asset Management. However, the developer of the template can configure the corresponding control element so that only one of the two options is available.
Note
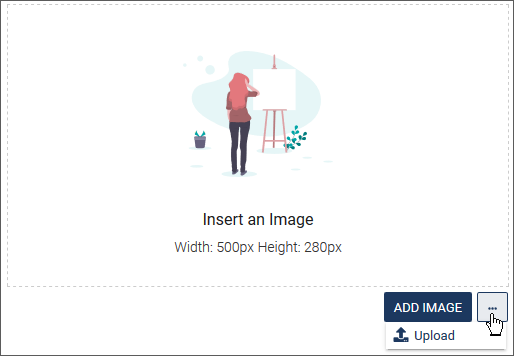
Placeholder images can be configured by the template developer and may differ in appearance.
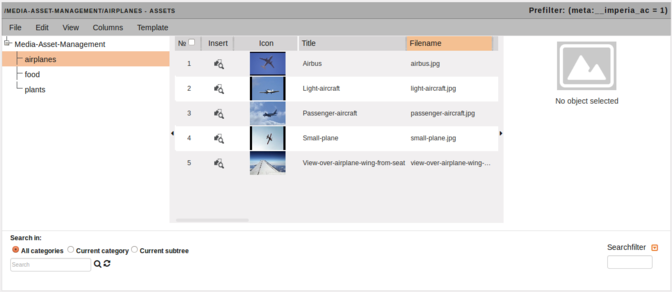
Inserting an image from the Media Asset Management
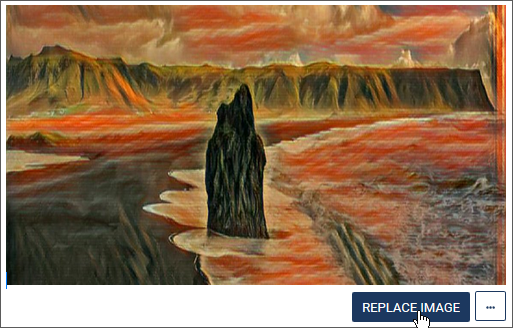
- To insert an image from Media Asset Management (MAM) into the document, click on ADD IMAGE beneath the placeholder. If you just want to replace an existing image, click REPLACE IMAGE.
The MAM will open in a new window.
-
If necessary, change to the directory with the desired image.
-
Double-click the thumbnail of the desired asset to import the currently specified default variant directly into the document. In the chapter Managing media, see Define a Standard Variant, if you want to know how to set a variant of an asset as the default.
The image is inserted directly.
Inserting an image using the upload
You can use the image upload to add images that are not stored in Media Asset Management from your filesystem to the document. imperia transfers these images together with the HTML file to the target system when publishing the document.
Important
The image is only linked to the corresponding document and is not stored in the MAM. This means that removing the document in the system also irrevocably deletes the image.
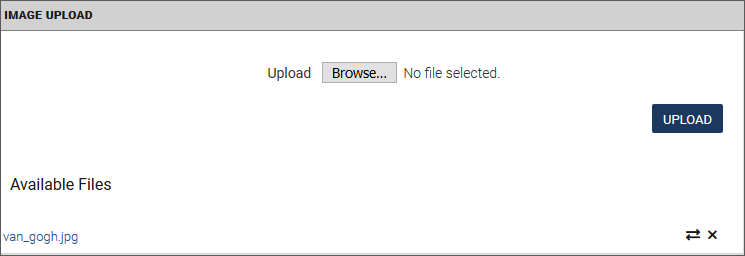
- Click the Image options/Upload option beneath the placeholder.
-
Click Browse to find the desired file on your computer or enter the path of the file. If one or more images have already been embedded in the document by using the image upload, these will appear in the Available Files list. Instead of including a new image, you can select one of the existing images::
- With you insert them into the document..
- With you can remove an image from the list..
-
After selecting the image, click Upload.
-
In the dialog that opens, change the file name of the image, if necessary.
Note
The image upload can be configured in such a way that the file renaming option is disabled. The corresponding dialog will still appear so that you can check the file name.
-
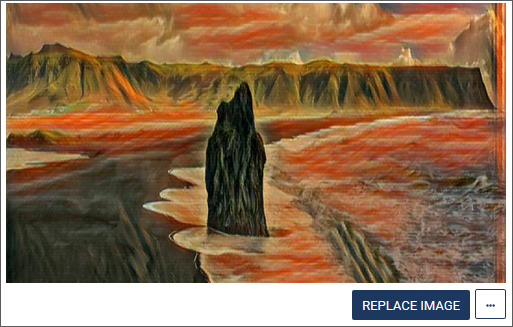
Click OK to insert the image into the document and close the dialog box.
The image appears instead of the placeholder in the document:
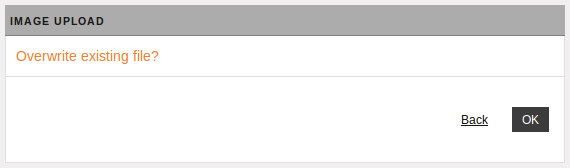
- If a file with this name is already embedded in a document, a new dialog appears:
-
Click OK to overwrite the existing image and close the dialog.
-
Click Back to keep the image. In this case, you can return to the file selection to select another image.
Removing an image
- Remove an inserted image by clicking the Additional Options icon below the image and then clicking Delete.
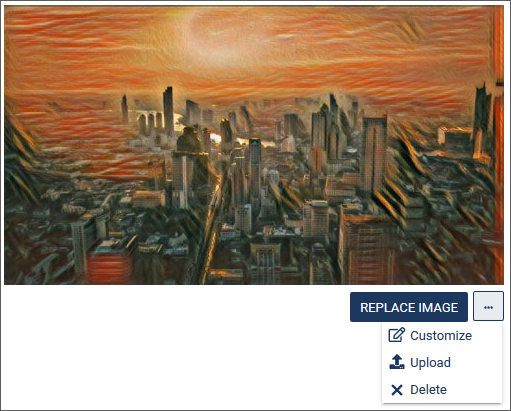
Customizing an image
- Edit an inserted image by clicking the Additional Options icon below the image and then clicking Customize. This opens the Asset Action dialog, where you can select the desired action.
See Editing images.
Editing texts withe the iWE2#
The imperia WYSIWYG editor (iWE2) enables comfortable editing of texts in a template. In a WYSIWYG view, you can quickly and easily format text, include images and link to other documents. The operation is based on common word processing software, so that an intuitive and easy-to-use access is possible. HTML knowledge is not required, but you can edit the HTML source code directly if necessary. The technical basis is the text editor “CKEditor” (ckeditor.com). This chapter describes the imperia-specific functions. A detailed description of the "CKEditor" can be found in the CKEditor User's Guide (date of the source reference: Sept. 2017)
The user interface is based on common word processing software.
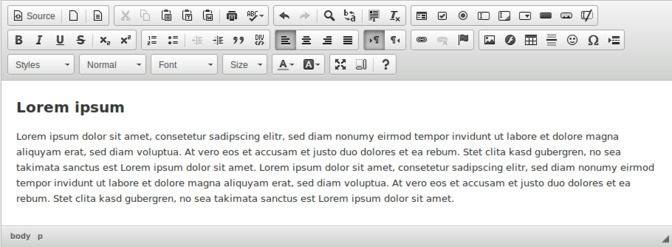
All functions can be accessed by clicking one of the buttons in the toolbar.
Note
Which of the buttons shown here are actually available depends on the configuration of the iWE Editor in the respective template or the corresponding configuration file.
The toolbars can be subdivided into the following categories:
-
Control functions: These include the functions Undo and Redo, Search and Replace and Paste from clipboard.
-
Structural functions: These include, for example, the creation of lists as well as quotations or block elements.
-
Text formatting functions: Bold, Italic, Indentation and Text alignment.
-
Color functions: You can use these functions to specify the text and background color..
-
Functions for inserting objects and text: In addition to inserting assets, special characters and tables, this function group also includes inserting unformatted text or formatted text from Word® documents via the clipboard, see section Inserting assets or Inserting tables.
-
Function to insert links: With the iWE2 you can create links within a document to other (imperia-internal) documents or (external) websites and generate links to imperia assets and "mailto" links.
-
Form functions: Use the form functions to insert forms and form elements into your document.
Inserting assets#
- Place the cursor in the desired position.
- Click on
 to insert an image from the Media Asset Management.
- Select the asset.
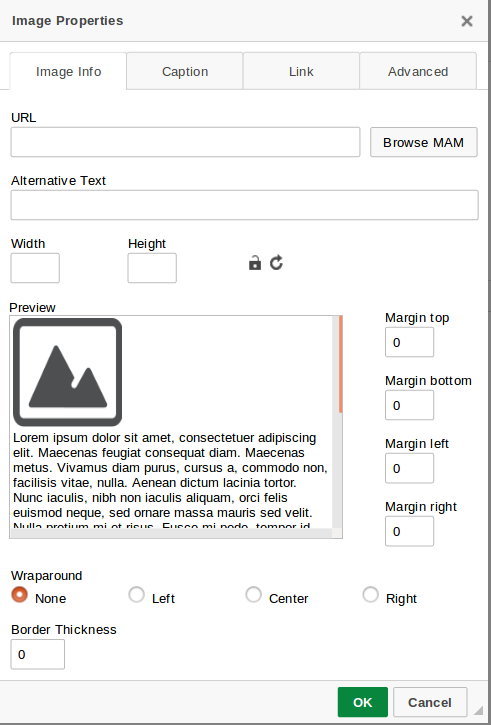
- Switch to the Image Info tab to select the asset from the MAM.
- Click the button Browse MAM.
- Double-click a thumbnail to import the standard variant of the asset to the document.
- Click the icon in the Insert column to select one of the available variants of an asset to be imported.The asset and its URL are automatically added. You can also enter the URL manually.
-
In the preview window you can now see the inserted asset and modify further options.
- Optionally, enter an Alternative text. If you have selected an asset, this field is automatically filled with the title under which it is managed in the MAM.
- Optionally, enter the desired dimensions under Width/Height in which the asset is to appear in the document. If you specify only a length of one side, the system calculates the other side length based on the aspect ratio of the original asset.
Note
Enter the size specifications before selecting the asset. The system then automatically generates a new variant of the selected asset with the desired dimensions. In this way you achieve the best possible display quality. Alternativaley, you can edit the assets later, see Asset actions.
- Optionally, enter a value (e.g. 5px) under Border to give the inserted asset a frame.
- Optionally, enter the desired value, for example 5px., under H distance/V distance to insert the asset with a dictance to the surrounding element.
- Optionally, define the alignment of the asset under Wraparound.The asset to be imported is displayed in the preview.
-
Switch to the Caption tab to define a caption.
Note
Make sure that you activate the checkbox Image with caption for captions. Otherwise, the caption entered is not displayed.
- Activate the checkbox image with caption.
- If necessary, change the alignment of the entered caption.
-
Switch to the Link tab to In this tab, to link the selected asset if necessary.
- Enter the target URL for the link to be created under URL and choose the link type.
-
Switch to the Advanced tab to make additional settings.
- For example, you can add style classes to the asset or specify advanced properties such as a language key and a description.
Inserting tables#
You can use this function to create HTML tables in the iWE2.
- Click
 to insert a table.
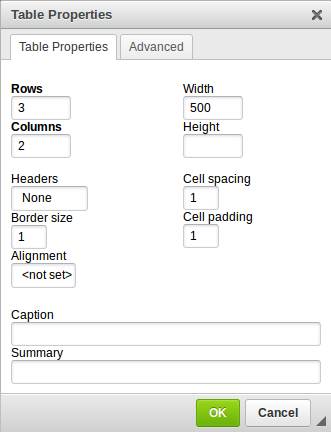
- Enter the desired properties of the table to be created. This includes the size of the table, the number of rows and columns, the width of the frame, the line spacing, the alignment and the captions.
Inserting buttons#
In iWE2, you can add a button and assign an asset from the MAM to it. The available options (except for the Link tab) are the same as described in Inserting assets.

Linktool#
The link tool is used to copy content from a source document to different positions in the current target document.The link tool is opened in the target document.
- The source document is the document from which the content is to be copied.
- The target document is the document into which the content is then inserted.
Content that is copied to the target document using the link tool is not automatically updated if the content in the source document changes. In such a case, you are forced to edit the target document again or work with dynamic content (SiteActive).
Note
- Depending on the configuration of the link tool and the layout of the target document, the user functions may differ. If you have any questions, please contact the template programmer.
- Depending on which filters and restrictions have been set by your template developer, you can only see parts of the category tree.
The link tool opens either the MAM or the document browser, depending on what is specified in the corresponding template.
Insert content with the link tool:
- Click on
 (Document browser) or alternatively om
  (MAM).
 -
The link tool is opened in a separate dialog. Depending on the configuration, proceed as follows:
Document Browser MAM 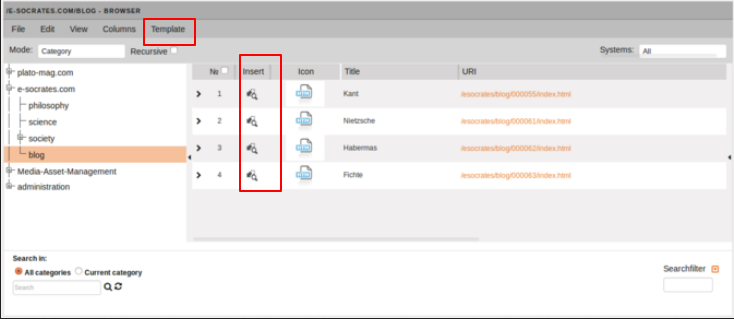
You will see an additional Insert column, that you can use to insert the desired document or asset in your target document.Alternatively, click on the URI of the desired document or asset to integrate it into the target document. Double-click a thumbnail to import the default variant of an asset into the document. In addition, there is the additional menu item Template -> Reset link in the link tool, which can be used to reset a link in your target document. You can only insert one item at a time. You can also use the full-text search and filters in the link tool to search for documents and assets. Use the FTS and filters to search certain assets. For more information on these options, see Searching in the Media Asset Management.
Search engine optimization (SEO)#
The SEO workflow plug-in is a workflow step that helps you to optimize your website for search engines like Google or Startpage. It validates your site using a checklist and offers suggestions for improvement.
If your workflow includes the SEO-Workflow-Plugin, it appears on your Desktop in the Next Step column (usually after the Edit Step):

1. Enter keywords
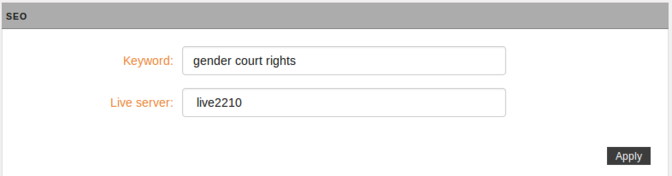
- In the first SEO step, enter one or more keywords as the basis for the SEO check.
- Also select one of your target systems to import information about the status of the robot.txt file.
- Click on Apply to start the check.
2. Preview
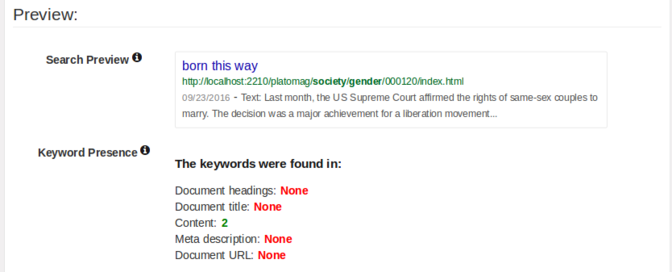
In the next SEO step, you will see a preview of the document entry as it might look like in a search engine. Different parts of the document are analyzed according to the defined keywords. For all instances of a keyword of the respective location, the corresponding counter is incremented by 1. Accordingly, you will receive a "None" if no keyword is found.
3. Validation of the document
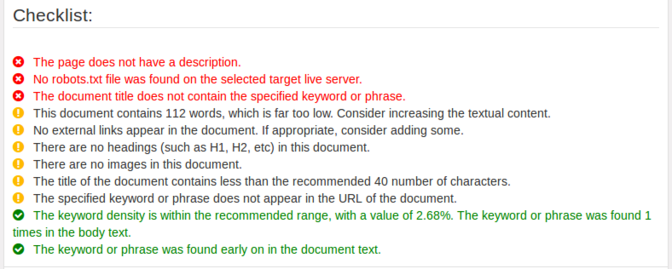
The last selection validates your document and the target system using the SEO checklist. Red entries indicate serious violations of the SEO guidelines. Yellow entries are warnings. Green entries indicate that this aspect complies with the SEO guidelines. The checklist shows you which points have been fulfilled and which still need to be improved.
3. Finish SEO workflow step
- Complete the SEO workflow by clicking Save. You will then be taken to the next step.
- Clicking on Reject takes you to the previous workflow step (usually the editing step).
- Clicking Cancel takes you to the desktop without saving the changes.
Adding tags to the document#
Tags can be used to generate theme-based overview pages in a website, from which website visitors can jump to pages that are thematically related. Tags are added during the edit step or in a specially configured workflow step. You can either add tags freely or select them from a defined list.
Note
When tags are added "freely", the tag list is extended by all editors when adding the tags. The "defined" tag list, on the other hand, is predefined by an administrator. The distinction between the two options is technically specified in each individual tag-processing instruction.
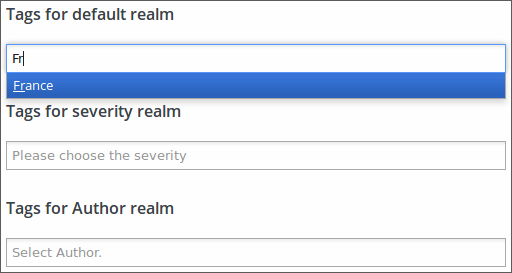
Tags can be assigned for particular thematic realms. For example, you could assign certain authors as tags for the Author realm or certain priorities as tags for the Importance realm to a document.
- Enter the tag term in the input field of the desired realm. While entering the term, the tag list will be searched and filtered accordingly.
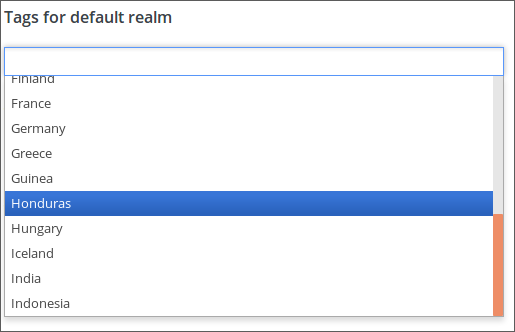
If the entered term does not yet exist in the tag list, you can add it to the list.
- First use the ESC key to leave the list or click anywhere outside the list.
- Enter the desired tag term in the input field and click ENTER.
Note
The tag will not be added to the tag list until you execute Save.
- By clicking the cross symbol behind the name you can remove a tag from the input field.
Note
To remove the tag assignment from the document, you need to execute Save.
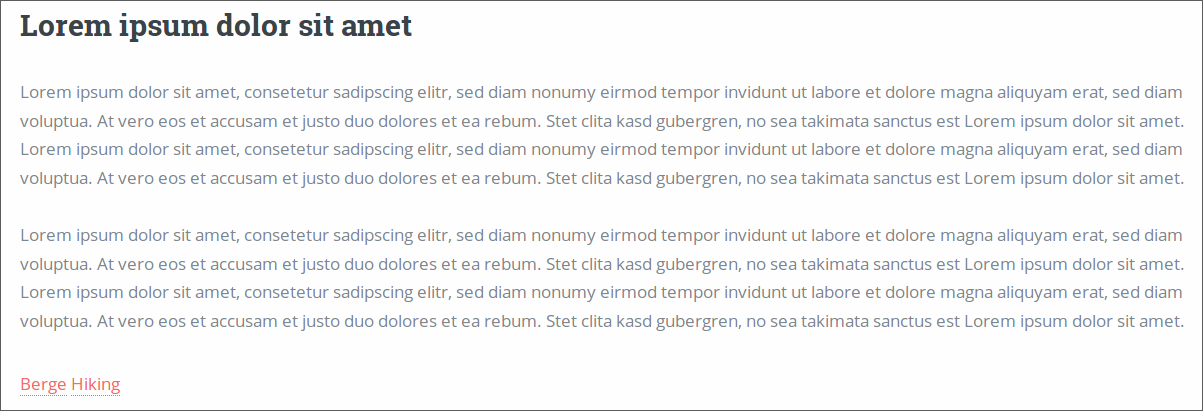
The assigned tags are now displayed in the page.
You can also use tags to filter your desktop by thematic issues. See also the section Desktop filters in the chapter Working with the desktop.