Creating and editing documents
Working with imperia essentially depends on the workflow used and the rights you own as a member of your current group. imperia manages and controls the entire production process ("workflow") of content, its transfer to the target systems or its export to other formats.
Once a document has been created, it cannot be removed from the workflow assigned when it was created. All workflow steps intended for the completion of this document are automatically executed in the specified sequence, so that you can concentrate on creating the actual content.
Creating a document#
When a new document is created, the document is initiated and the configured workflow is started at the same time.
There are two ways to create a new document:
1. Creating the document via Menu -> Documents -> Create new Document
In a first step, select a category in which the new document is to be created. These categories were created by your company or organization and often correspond to an area on your website.
The categories are listed in a tree structure:
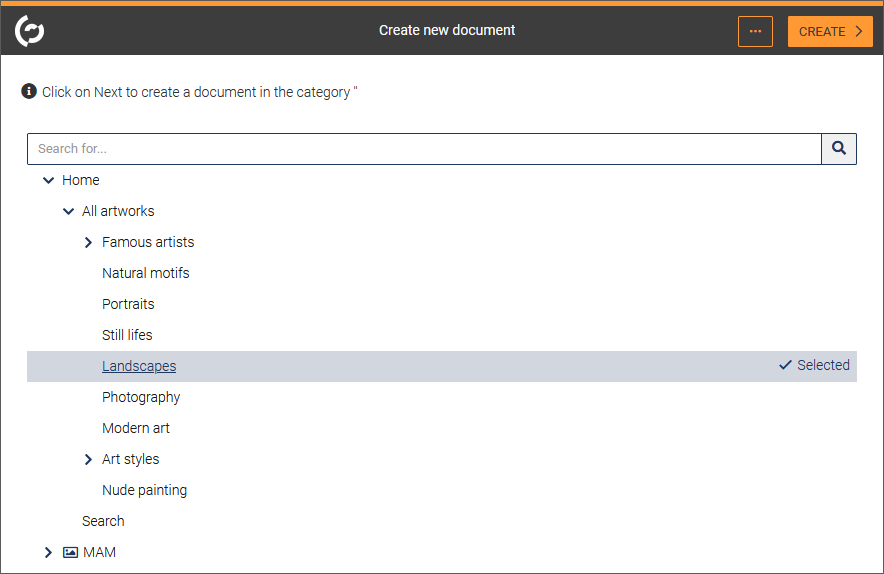
- Navigate to the desired category. Alternatively use the search field.
- Click on the category.
- Click on NEXT to create the document.
The document is now in the workflow. As long as a document is in the workflow, you will find this document on your Desktop.
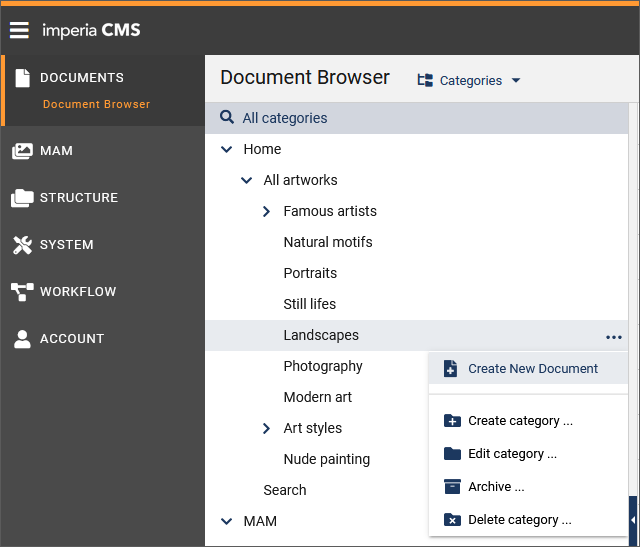
2. Creating the document via Menu -> Documents -> Document Browser
- Click on the desired category.
- Click on Create New Document in the context menu More of the desired category.
Editing a document#
After creating or re-importing a document, the document is “in the workflow”. Being in the workflow means, that a sequence of tasks has to be completed in order to “finish” the document.
Further workflow steps can be, for example, to define a publishing or expiration date on which the document is automatically published or expired. In addition, a republishing date could be named in a workflow step, on which the document content is to be updated again. You can also check whether the document meets the standards for search engine optimization (SEO) in a workflow step.
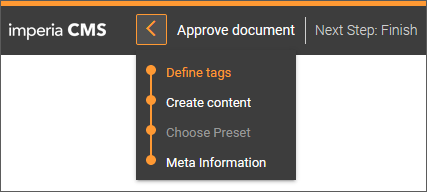
During the entire workflow, a status bar is displayed that guides you through the workflow. It shows which workflow step you are currently in and which step is next.
Tip
Navigate to the next workflow step using the keyboard. Use the following shortcut: CTRL + RIGHT (arrow) (MS Windows) or CONTROL + RIGHT or CONTROL + OPTION + RIGHT (Mac OS).

- To proceed to the next step, click on NEXT in the status bar.
- Using the Back symbol, you can jump back to the previous steps at any time without leaving the workflow.
-
If you want to cancel the editing of the document, click on CANCEL. As soon as you cancel a workflow step, the content entered in this step is lost and the system again releases the document for other users to work with.
Warning
Closing a browser window is not equivalent to the button Cancel. In case of closing the window, you have also aborted the processing, but the system cannot register this, because it does not transmit a message to the web server running imperia. As a result, the document you last edited remains locked. See Locked documents.
-
To save the previous contents but edit the document later, execute CLOSE.
After the document has been created, it is automatically forwarded to the first workflow step. In the following, the steps in which a document is edited and published with imperia are described using the example workflow above.
Step 1: Meta Information#

- Enter a Title and Keywords for the document.
- Under Publish date, set a publication date for the document if necessary. Optionally, use the calendar function to select the publishing time. Alternatively, you can also not specify a publication time by activating the corresponding radio button.
- In the same way, you can specify whether the document should have an Expiry date.
- Specify the languages in which you want to create the document. The possible languages are determined by the previously selected category.
- Click on NEXT.
The document is forwarded to the next step, in our case to step "Choose preset".
Step 2: Choose preset#
Before creating the actual content of your document, you may choose a document preset for the document. Document presets are based on templates and used to automatically design pages that are to be given a specific layout depending on the content being displayed. In this workflow step the presets that has been assigned to the category of the document are proposed.
Warning
The selection of the preset cannot be adjusted in the subsequent steps
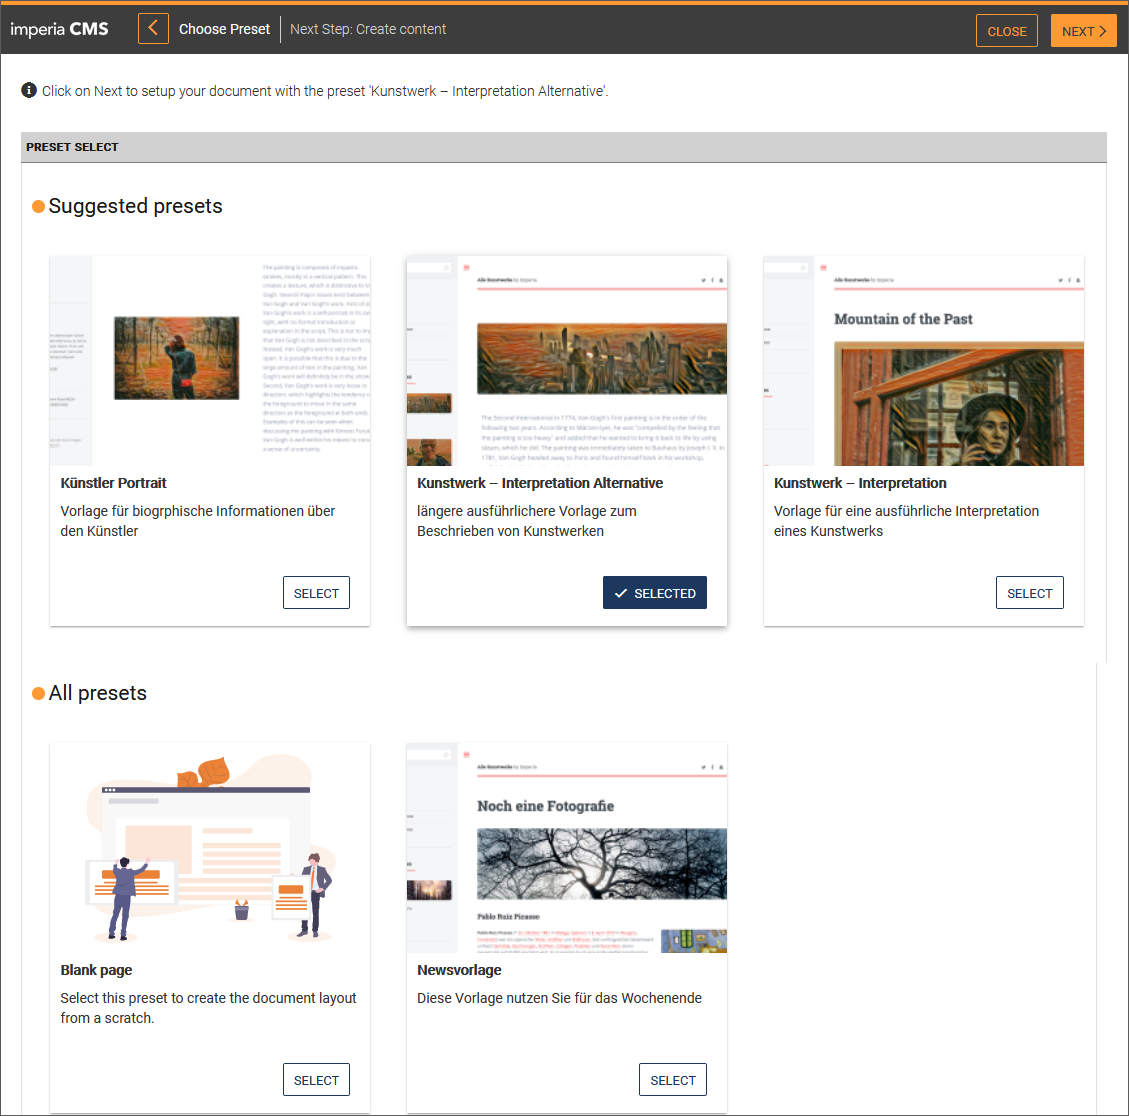
- In the desired document preset, click the SELECT option.
The selected preset receives the status "Selected" and is additionally marked by a check mark.
Note
If you want to create the document without a document preset, you may skip this step depending on the template configuration.
- Click on NEXT
The document is forwarded to the next step, in our case to step "Create content". The previously selected document preset serves only as a suggestion and can be further adapted.
Step 3: Create content#
In this workflow step, you create and design the content of your document. Read the chapter Creating the document content for more information on procedures and options in the editing mode.
- After creating the content, click NEXT.
The document is forwarded to the next step, in our case to step "Define tags".
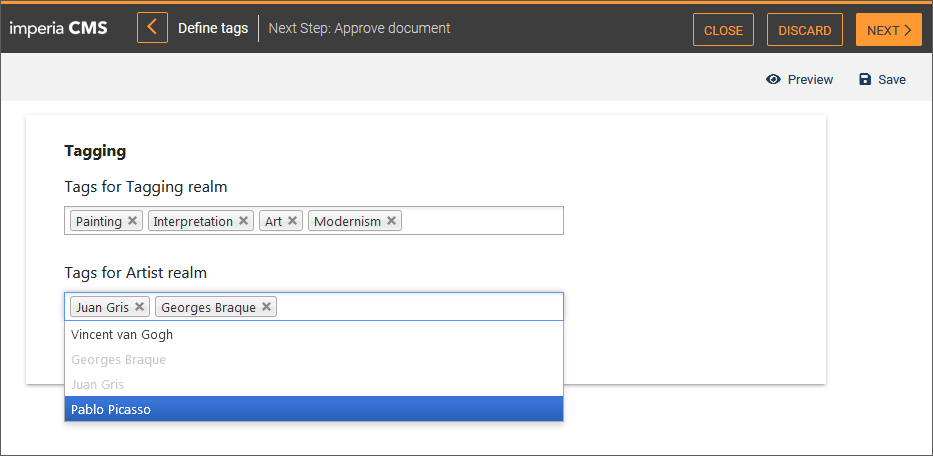
Step 4: Define Tags#
Tags can be used to generate thematic overview pages in a website from which website visitors can jump to related pages.
In this workflow step, you can add tags to the document. These can be freely selected or taken from a defined list. Read the chapter Adding tags to the document for procedures and options for the tagging process.
- Click on NEXT. The document is forwarded to the next step, in our case to step "Approve document".
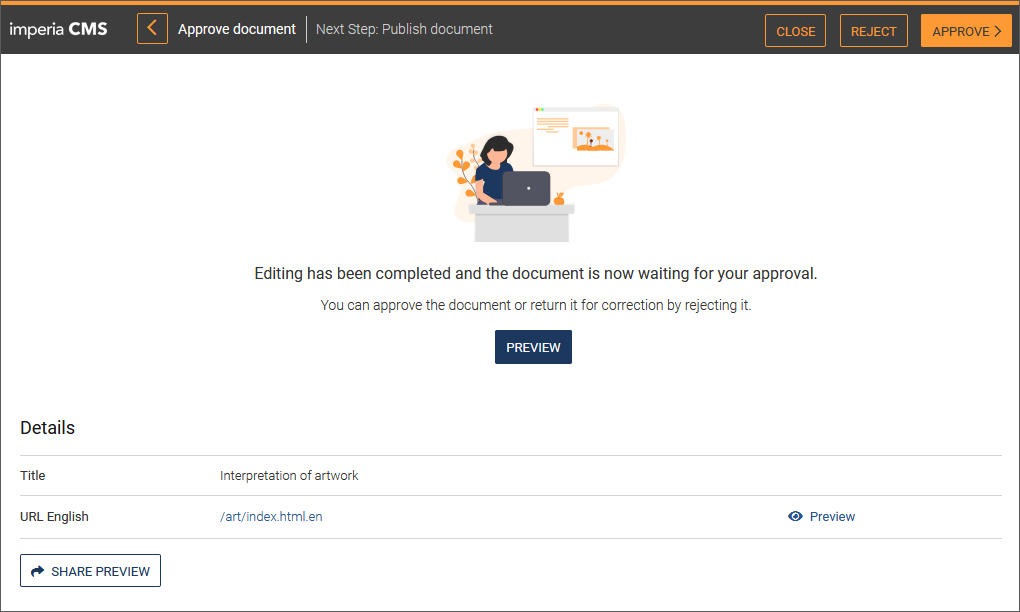
Step 5: Approve document#
In the next step, you as an editor are informed that the document has been edited and is waiting for approval. The assigned workflow requires that the content you have created must be reviewed and approved by a chief editor.
The chief editor receives a notification and finds the document with this task on his desktop. After reviewing the document, the editor can approve it or return it to the workflow editor for correction.
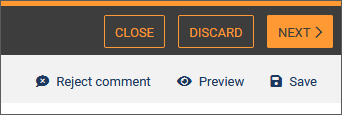
The status bar now offers the two options REJECT and APPROVE.
Under Details, the editor-in-chief can view the individual language variants of the document in the Preview or track the Changes made to the various variants to get an accurate picture before approving the document. The options offered here are rights-dependent and are not offered for each role.
If the chief editor rejects the document by clicking on REJECT, a message appears that it will be transferred back to the "Edit" step so that the editor can make the desired corrections.
- As a chief editor, enter a comment and click on SEND.
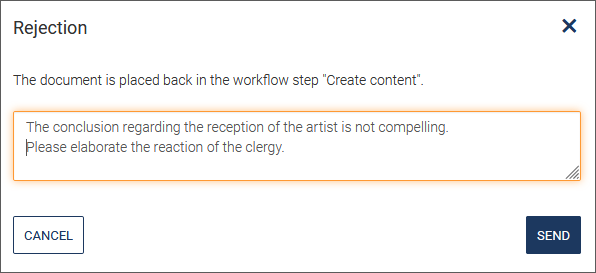
This comment can then be accessed via Reject comment in the status bar.
The editor is notified and finds the document again on his desktop.
If the chief editor accepts the document, he clicks on APPROVE in the status bar.
The document is now ready for publication.
Step 6: Publish document#
Once a document has been completed and approved, it leaves the workflow and thus the desktop. The document is now ready to be published on a target system.
Note
To publish documents, you need the create rights for the category in which the document was created and at least read rights for the categories of the linked files (usually MAM objects).
If a publication date has been specified, this will be read out here. However, you can still change the date and time.
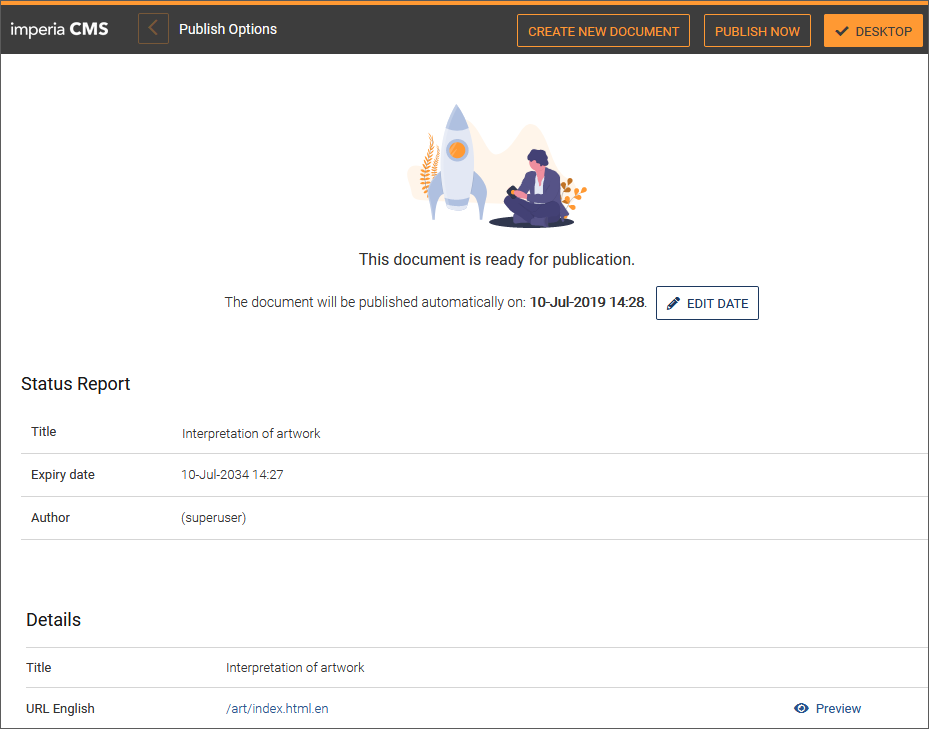
- Click on EDIT DATE.

- Enter the planned publication date or use the calendar function.
- Click SAVE to complete the operation. In this case, the document will be published on the specified date.
- With CLEAR you remove the date from the input field.
- Click on PUBLISH NOW in the status bar if you would like to post the document by now.
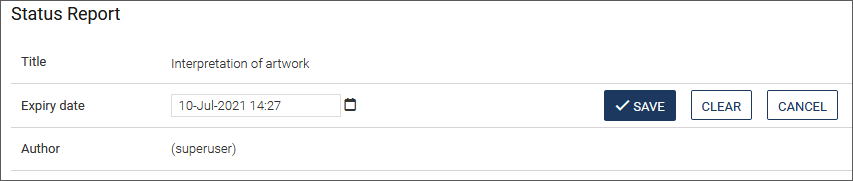
- You can also change the Expiry date again. To do this, under Status Report click on EDIT DATE in the row of the Expiry date and specify the desired date. If necessary, use the calendar function here as well.
The document is published. You receive a corresponding message when the process is completed.
The publishing list
Additionally, you will find all documents to be published under the menu item Menu -> Documents -> Publish documents in the publishing list.
Changing the display of the publishing list
-
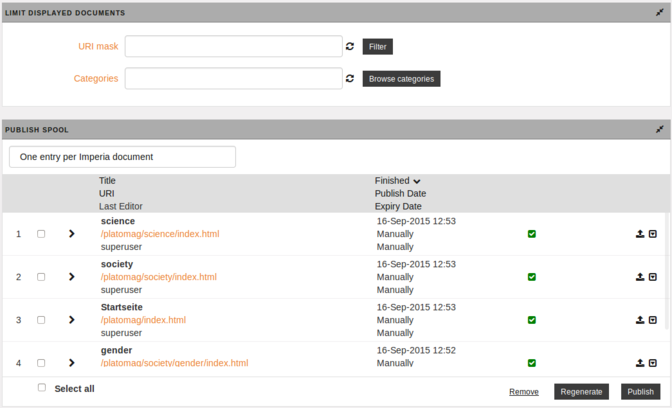
In the Limit displayed documents* area you will find filter options with which you can limit the number of documents displayed in the publishing list.To reset a filter, click on next to the input field.
- URI mask: Use this input field to filter documents according to their URI. For example, if you want to display documents with the file extension
htmlonly, enter.htmlin the field. Click on Filter. The publishing list is reloaded and only documents that match the entered criterion are listed. - Categories: In this input field, enter the categories whose documents are to be displayed. To enter the selected categories, you have two options.:
- Enter a semicolon-separated list of category node IDs (example:
/4; /4/16; /4/22). - Alternatively use the button Browse categories: This opens a popup window with the category tree, in which you can click the checkboxes in front of the desired categories. Confirm your entries with OK.
- Enter a semicolon-separated list of category node IDs (example:
- URI mask: Use this input field to filter documents according to their URI. For example, if you want to display documents with the file extension
-
Change sorting of the documents: Change the sorting of the document list by clicking on one of the criteria in the first row of the publishing list. The selected criterion has an arrow that shows the direction of the sort sequence.
-
Change display mode of the publishing list: Specify in the drop-down box in which display mode the documents are to be listed:
- Select One entry per imperia document if the documents are to be sorted by their "master document", i.e. the copy pages are displayed beneath the corresponding document
- Select One entry per file if you want each document to be listed individually.
Publishing a document in the publishing list
- To publish a single document, click at the end of the document line.
- To publish several documents, activate the checkboxes in front of the desired documents and click on the button Publish.
- To publish all documents, activate the checkbox Select all below the list and click on the button Publish.
As soon as a document is selected, the options Remove and Regenerate are also available under at the end of the line of the document under .
-
Use Remove to delete the document from the publish-list.
-
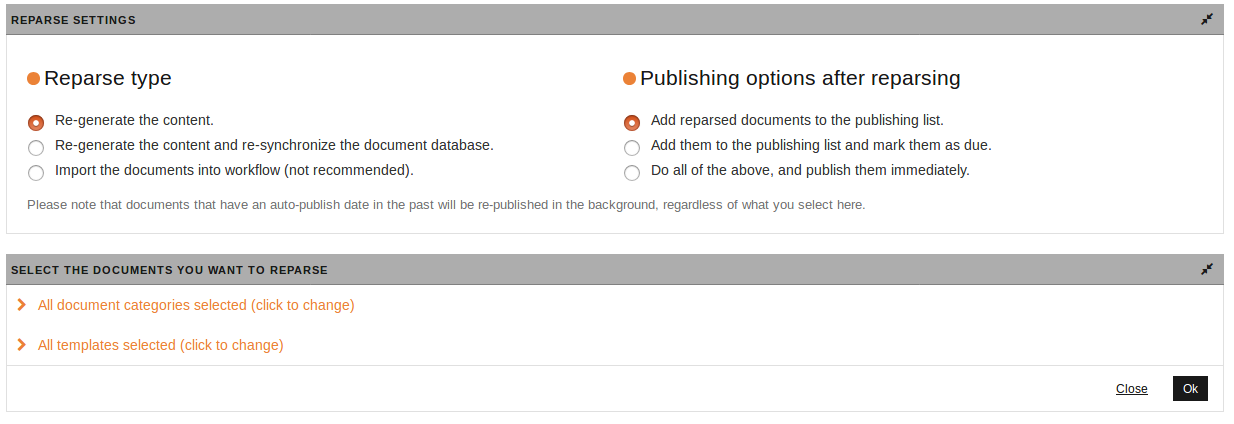
Use Regenerate to reparse the document with a new template. Make the desired settings in the Reparsese settings dialog:
Previewing a document#
You have the option of opening the document preview from the desktop or archive by clicking the document's title.
The selected document opens in a new tab in your internet browser with a toolbar on top that offers different output formats for the preview mode of your document:
 The toolbar gives you different options to display your document:
- Mobile: Use this option to view your document as it appears on a smartphone. The values for height and width are adjusted accordingly in the toolbar.
- 7''Tablet: Use this option to view your document as it appears on a 7-inch tablet display. The values for height and width are adjusted accordingly in the toolbar.
- 10''-Tablet: Use this option to view your document as it appears on a 10-inch tablet display. The values for height and width are adjusted accordingly in the toolbar.
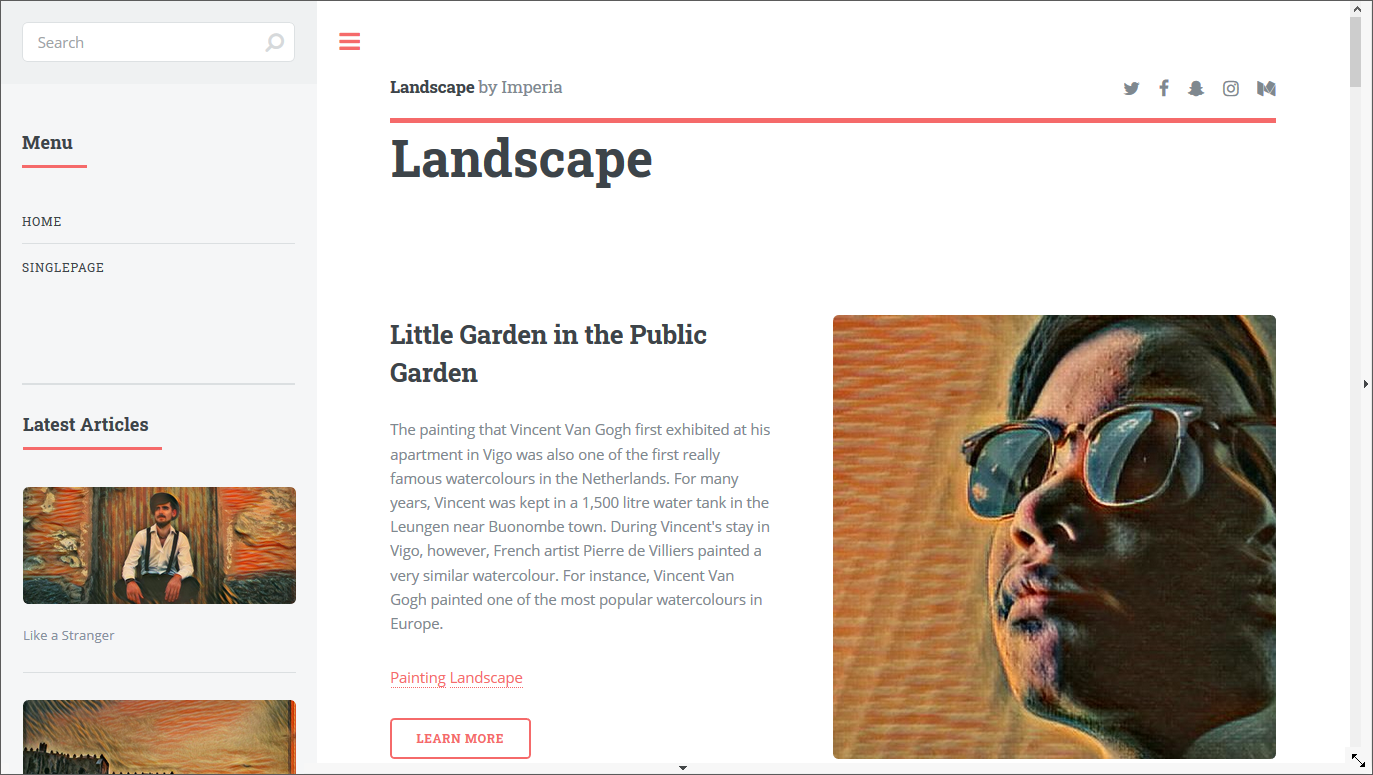
- Desktop: Use this option to view your document as it appears on a computer. This option is enabled by default when you open the preview mode. While the height and width values are fixed for the mobile and tablet previews, they are dynamic for the desktop option and depend on the resolution of the screen on which your browser is open.
- Rotate: Use this option if you want to see what the document view looks like when you turn the mobile device or tablet to one side. This option does not work for computer preview.
- Input fields: Here you can change the height and width manually. Confirm your entries by clicking on the checkbox.
- Live-Reload: Activate this option if you want the preview to be reloaded automatically if the document has been changed in edit mode.
- Track changes: Use this option to display the differences between the current version of the document and the last finished version. If this function is not called from the editmode, the difference of last_version and last_finished_version is shown.
Example for a tablet preview:
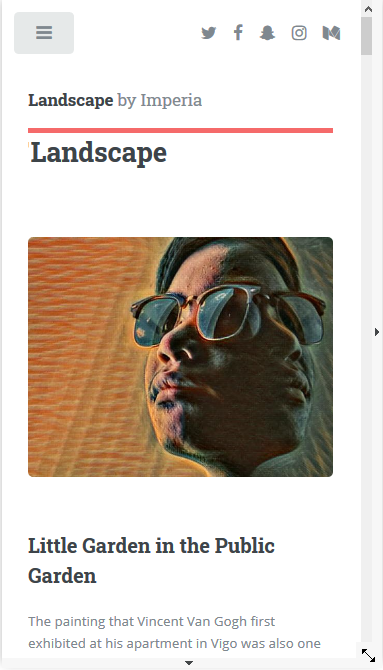
Example for a smartphone preview:
Sharing a preview
You can also share the preview of the document with others. This can be useful, for example, when colleagues or a supervisor need to look at the website to check the layout or content - but without needing to have their own imperia CMS account. Simply send your colleagues a preview link. The preview link is valid for 14 days and the preview will be updated with any subsequent changes to the document.
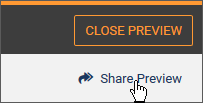
- Click Share Preview on the preview toolbar to create a link to the preview of the document.
A dialog opens with the generated preview link, which you can now copy for further use.
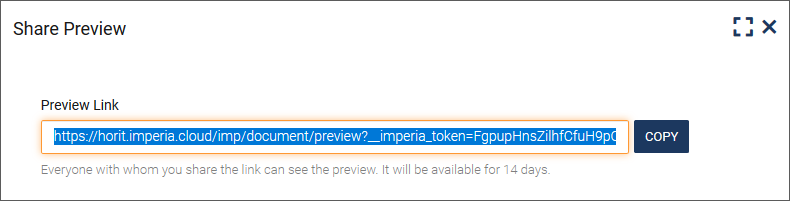
- Click Copy to save the link to the clipboard.
You can then insert the link into an e-mail, for example, and send it to the desired addressee.