Managing documents
With the Document Browser, imperia offers you a clear administration of all documents and assets in a folder structure. An exception are deleted documents that can be found in the archive.
Structure and functionality of the Document Browser#
The Document Browser provides you with the familiar functionalities you need for your editorial work. From here you can create, publish, reparse or delete documents.
You may also display additional columns in the documents overview if you want to see more information on the workflow status of a document.
- Open the Document Browser by clicking Documents -> Document Browser:

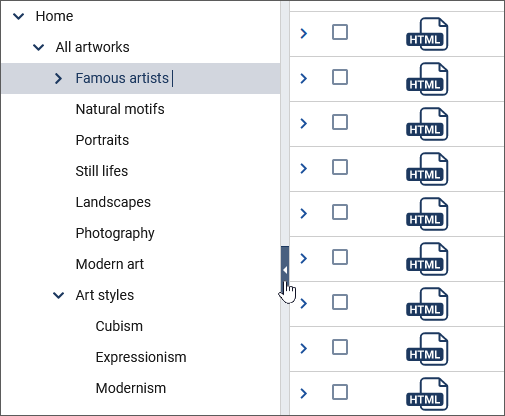
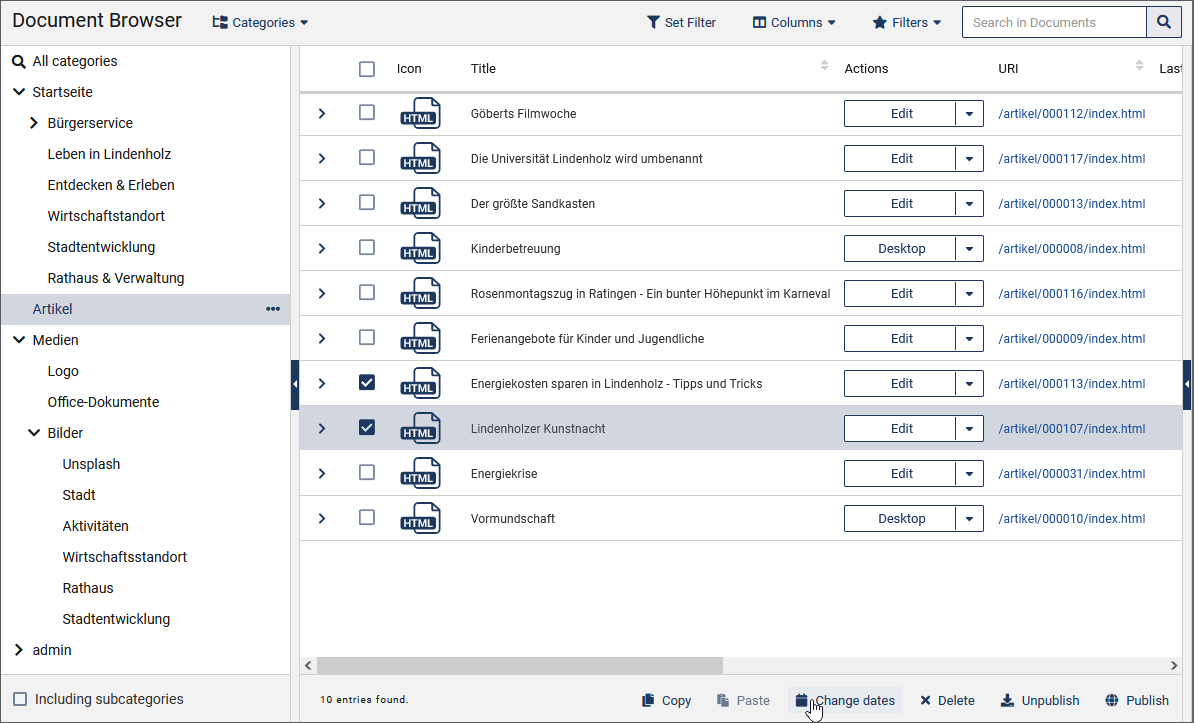
In the left-hand area of the Document Browser, the categories are displayed in the form of a hierarchical tree or directory list. In the right area you will find a table with the document list of the selected category and a preview area where additional information on the document is displayed and actions can be performed:
Both the category tree and the preview area can be hidden and shown again by clicking on the arrow symbol of the separator line.
In the upper area you can configure your personal search within the simple and advanced search functions and then save it as a filter so that you can easily find the documents and assets you need whenever you like.
Working with the category tree#
Categories form the thematic structure of your project by specifying topics for the documents.
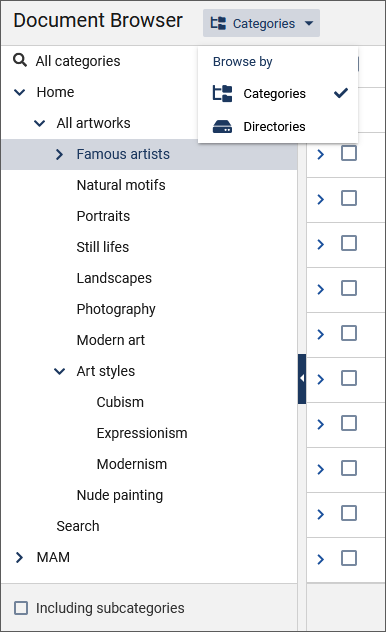
You can display the category tree in different views:
-
Activate the Categories option above the category tree if you want the categories to be arranged in a tree structure, or the Directories option if you want them to appear as a list in the form of directories.
-
Select the checkbox Including subcategories under the category tree if you want the subfolders to be displayed as well.
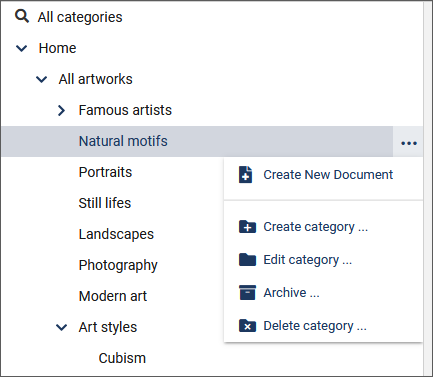
The context menu of a category allows you to edit the category settings, create new documents in the category or add new subcategories:
Create new document#
This option takes you directly to the workflow defined for the selected category. Make sure that you are in the correct category.
- Proceed as described under Creating a document
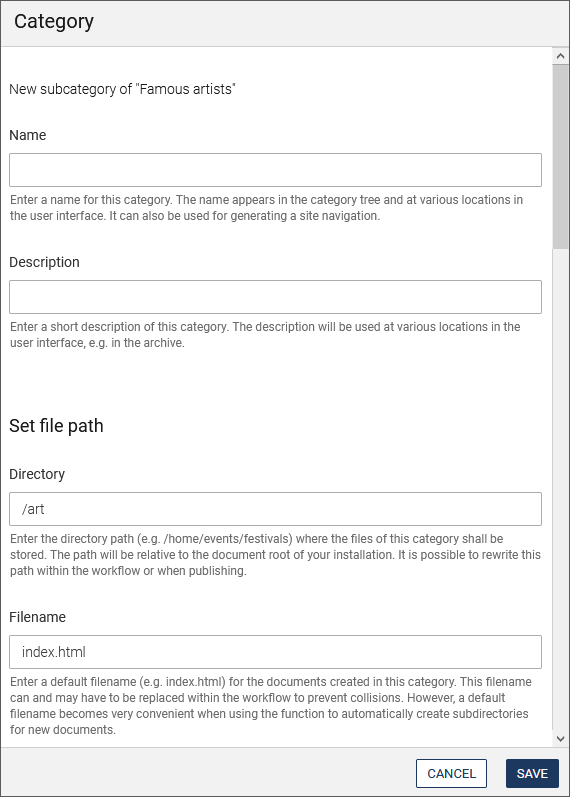
Create category#
Use this option if you want to create a new sub-category for the selected category.
- Enter a Name and a Description for the new category.
- In Directory, specify the directory path where the files in this category are to be saved.
-
In Filename, specify a default file name for documents created in this category.
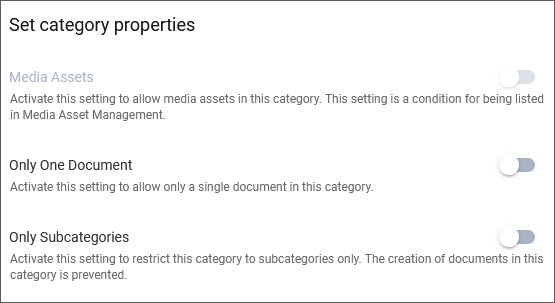
-
Specify whether you want to allow Media Assets for the category, in order to then include them in the media asset management.
- Use the Only One document switch to allow only one single document in the category.
-
The setting Only Subcategories allows only subcategories in the category when activated, but not documents.
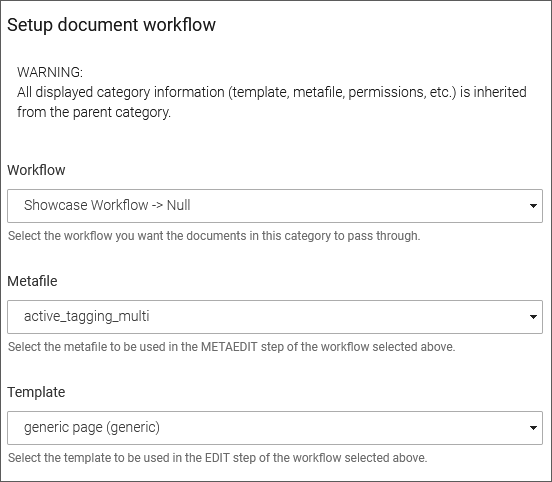
-
Configure settings for the workflow. Select the Workflow that the documents in this category are to pass through.
- Decide on a Metafile for the METAEDIT step in the selected workflow.
-
Select a Template for the EDIT step of the workflow.
-
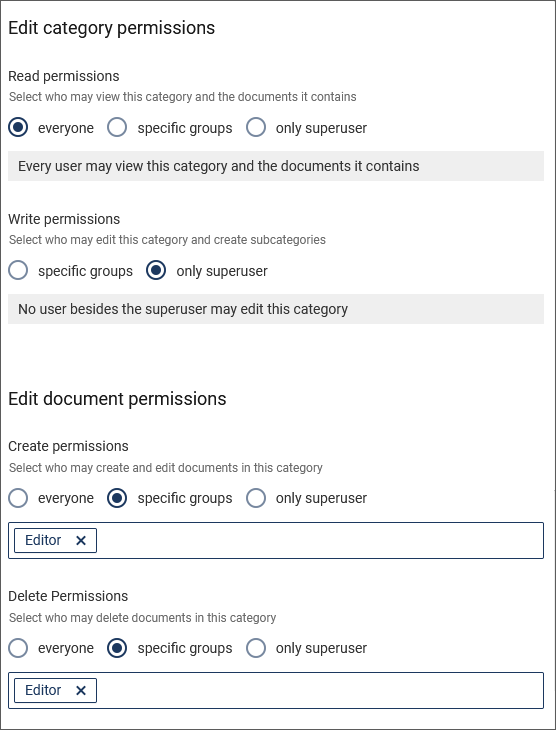
Assign Read and Write permissions to the category and the documents it contains. Click in the input field and select the desired groups from the drop-down list of available groups.
-
In Edit Document permissions, specify who is allowed to create, edit and delete documents in the category. Click in the input field and select the desired groups from the drop-down list of available groups.
-
Save your settings by clicking Save.
Edit category#
This option allows you to edit the settings of the selected category. In addition to name, description, directory path and standard file name, you can make further settings here - assuming you have the appropriate rights.
- Define the category properties as described in Create category.
- Assign Category meta variables for the category by clicking on the subsequent Edit link. In the window that opens, enter the desired values for the variables.
- Save your settings by clicking Save.
Archive#
This option takes you directly to the archive of the selected category, from where you can select a document and import a previous version.
Delete category#
Use this option to delete a category. Confirm the security query with OK. Please note that you must first delete all archive entries and documents on the desktop that are located in this category.
Find documents#
To find documents or files, you can choose between a standard search, which can be further restricted by using filters, and an advanced search, which allows individual and complex search queries.
Standard search#
For a quick search query, the Document Browser offers a simple free text search.
-
Enter the desired search term in the free text search input field, and then click
 .
.
The standard search also allows you to use dropdown fields to set up a search query with selected filters, which further restricts the search.
- Click the Set Filter option in the search bar.
An additional bar for the filter search is displayed.

- Enter the desired search term in the input field.
-
Use
 to open the list of search filters, and use the checkbox to select the desired search fields where to search for the search term.
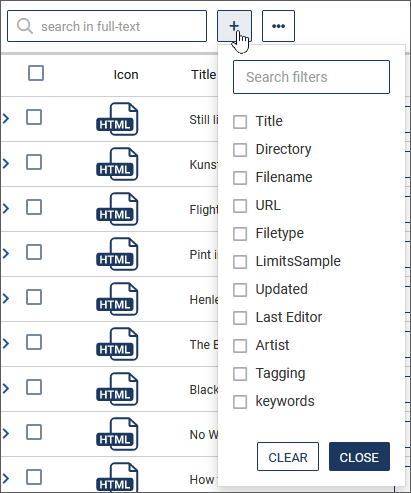
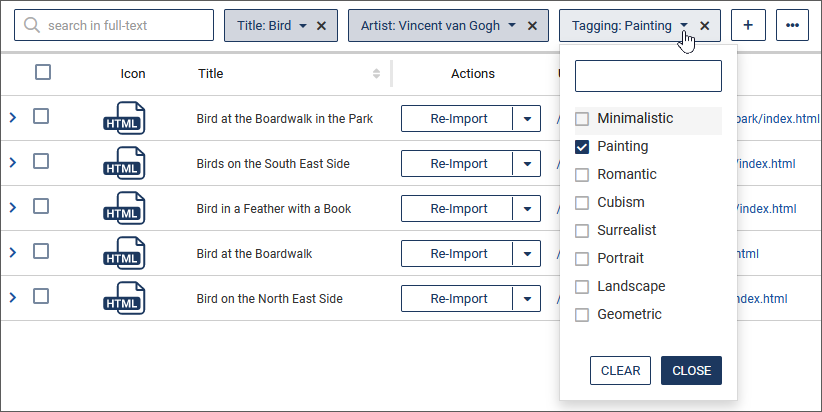
The selected filters are then offered as drop-down fields in which you can further refine the search:
-
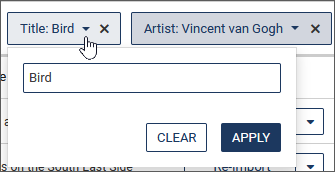
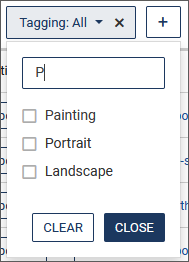
To specify further search criteria, click on the desired entries within a drop-down search field according to the filter type (see filter "Tagging" in the figure above) or enter a search term (see filter "Title" in the figure below).
-
Apply the search criterion by clicking on Apply.
-
With Clear you reset the filter.
-
Use the quick filter within the drop-down field to reduce the number of listed entries. Type the desired term into the input field above. The list responds while you are typing and hides the entries that do not match:
-
Add other drop-down boxes to the search query by clicking
. - Remove a drop-down field from the filter bar by clicking x behind the respective filter.
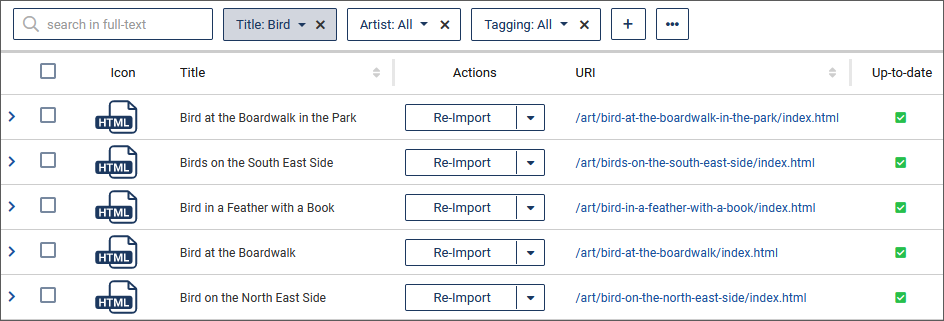
The document table now shows the matching search results:
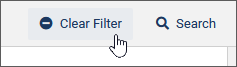
- To hide the filter bar again, execute Clear Filter.
Advanced search#
The advanced search allows you to make more individual and complex search queries.
- To switch to the advanced search, first click Filter to display the filter bar.
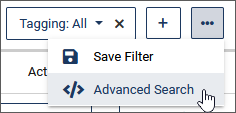
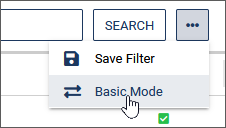
- Select the Advanced Search submenu from
 .
.
- Clicking and the Basic Mode submenu returns you to the standard filter search.
Note
It is only possible to switch from the simple search to the advanced search by adopting the search criteria, since in the opposite case the advanced search is often too complex to be represented as a simple search.
With the advanced search you can perform structured searches for documents.
In the advanced search, you use a field, an operator and one or more values for the search query:

Save filter#
After completing the search query, you may save your search query so that you can re-use it at another time.
-
Click
and choose Save Filter. 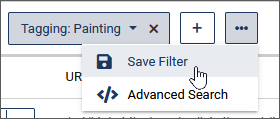
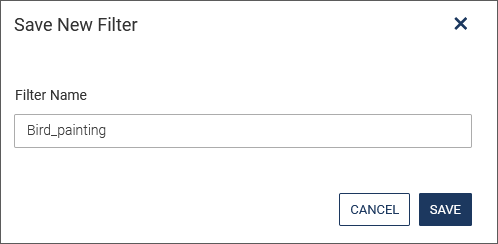
-
Give your new filter a name and click Save.
Apply saved filter#
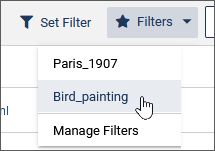
-
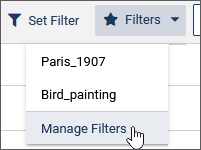
Apply previously saved filters by clicking Filters and then clicking the name of the desired filter:
Delete saved filters#
-
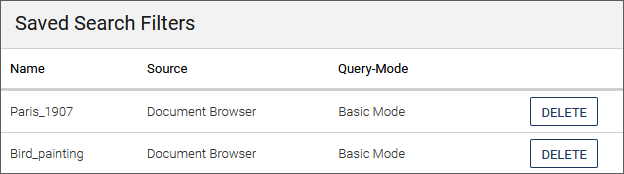
If you no longer need a filter, you can delete it. To do this, execute Filters and then Manage Filters.
-
In the overview of saved filters, click on Delete behind the desired filter.
Working with documents#
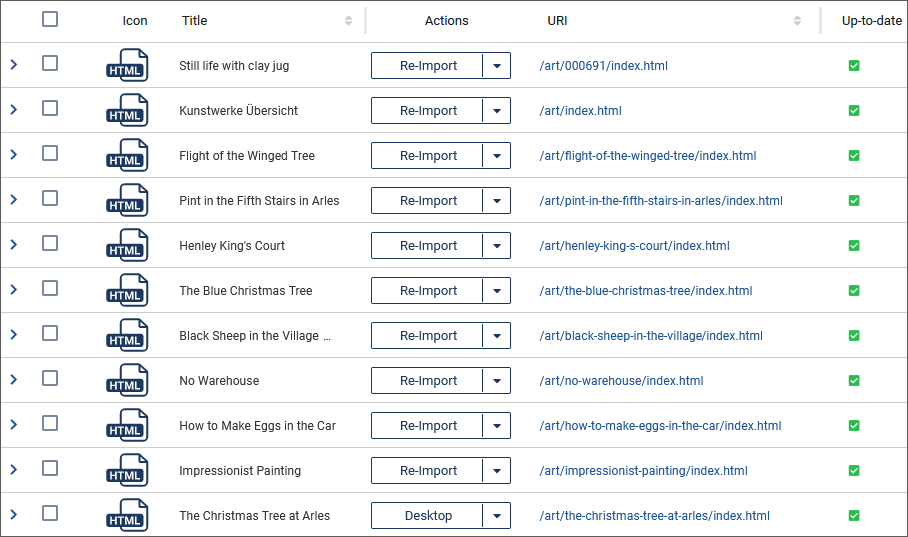
The documents contained in a category are listed in a table. Information about each document and possible actions are provided in columns.
-
If you want to add a column to the table, use the View option in the menu bar, then activate the checkbox in front of the desired column to display it.
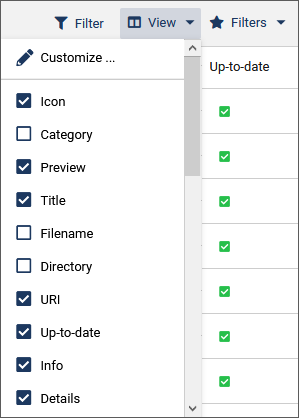
The action options in the drop-down box of the Actions column for a document are also activated in this way. If the action is not visible for one of the following actions, you must first display the entry via View by activating the corresponding checkbox.
-
Optionally change the position of the columns within the table by drag & rop. Alternatively, you can change the arrangement of the columns and the selection fields offered therein under View / Customize. Again, use drag & drop to drag the columns or fields to the desired position.
Information offered in columns:
-
Actions: This column provides the action options for each document in a drop-down box.
-
Icon: Clicking on the icon will open the document in the preview.
-
Category: Shows the name of the category in which the document has been created.
-
Preview: Calls the preview of the document in a separate window.
-
Title: The name of the document.
-
Filename: Reads out the file name of the document. If you click on the path, the document opens in the preview.
-
Directory: Displays the path in Asset Management.
-
URI: Contains the path of the document.
-
Up-to-date: This column uses an icon to indicate whether the document on the target system matches the document on the development system (green checkmark or red exclamation mark). Click on the icon to obtain information on the Document Publish Status.
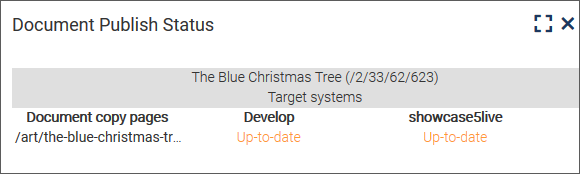
The first column contains a list of all copy pages of the document. In the other columns, the available target systems are displayed with their status. The following states are possible:
- Up-to-date: The document versions on the development system and on the target system are the same.
- Outdated: The document version on the target system is older than that on the development system.
- N/A: There is no information available.
- Manually deleted: The document was deleted manually from the target system.
- Trigger fail: This status appears if the publishing trigger is defined for the corresponding target system, but the document (or copy page) does not correspond to the conditions and is therefore not published.
- Missing on Develop: The document was deleted on the development system, but still exists on the target system.
-
Last finished: Time at which the document workflow was last completed.
-
Publish date: The current publishing date.
-
Expiry date: Date on which the validity of the document expires.
-
Resubmit date: Time at which the document is to be resubmitted.
-
Created by: Creator of the document.
-
Last Editor: Last editor of the document.
-
Live URI: This column contains the document path. If you click on it, the document opens in preview mode.
-
First created date: Time at which the document was created.
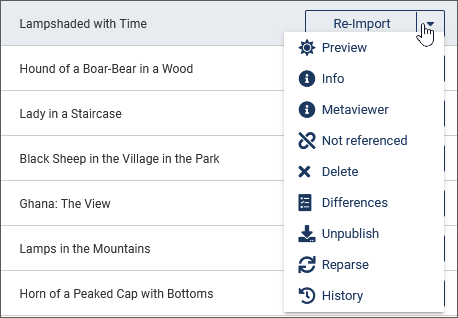
For each document you can perform various actions in the column of the same name.
-
Select the desired option from the drop-down box in the Actions column.
Note
If any of the actions described below are missing, select the check box before the action name in the View menu.
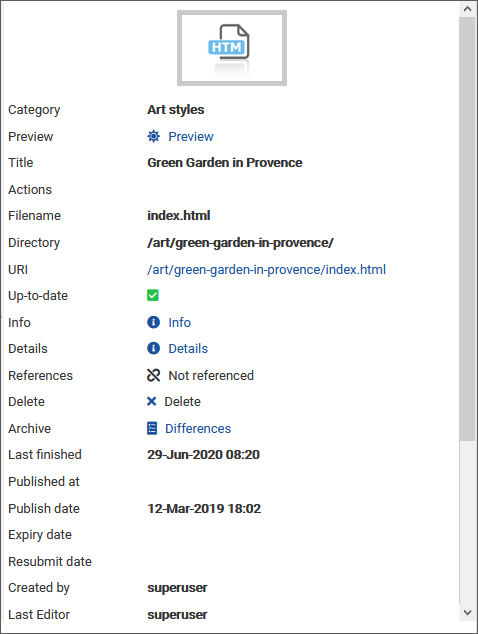
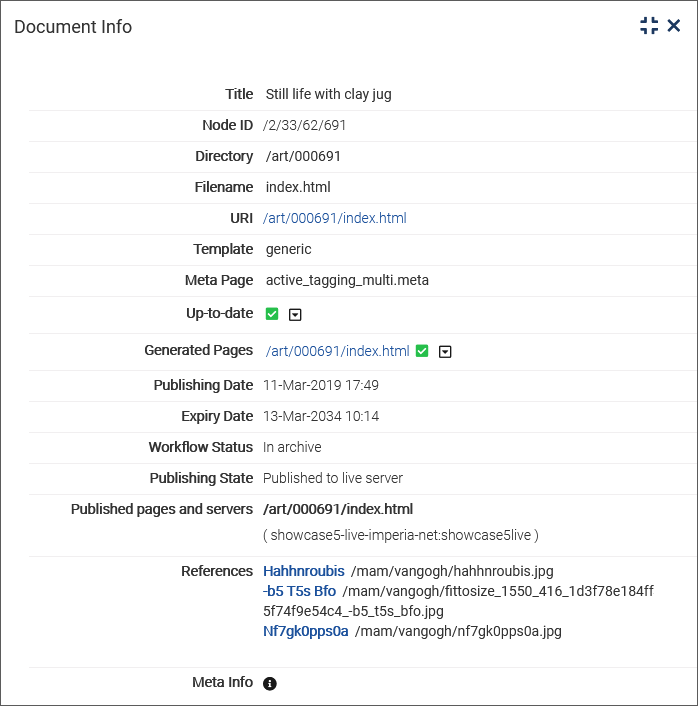
View document information#
You may access all information on the selected document contained in the other columns in a separate dialogue.
-
In the Actions column, open the drop-down list with the action options for the document. Choose Info.
-
Click on x to close the dialog again.
Preview document#
- In the Actions column, open the drop-down list with the action options for the document. Choose Preview.
Additional information about the selected document is displayed in the preview view.
Re-Import document#
Re-imported documents are set to the first step of the original workflow by the target system. If the workflow has been changed in the meantime, reimported documents will pass through the new workflow.
Note
If the imported document is in the workflow (and therefore also on the Desktop), this re-import option is not possible.When attempting to re-import the document, you receive the error message "In workflow".
- In the Actions column, open the drop-down list with the action options for the document. Choose Re-Import.
- Confirm the security message.
- Optionally make an archive entry.
- Save your settings by clicking OK.
The reimport is being performed. You reach the first workflow step of the document, for example Meta-Edit.
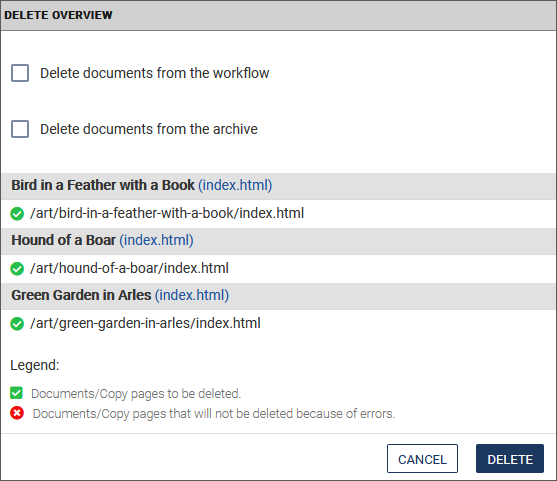
Delete document#
Use this option to delete one or several documents from the Development system
Note
To delete a document, you need both write and delete permissions for the corresponding category.
- In the Actions column, open the drop-down list with the action options for the document. Choose Delete.
-
To delete several documents, activate the checkboxes in front of the documents and click Delete in the toolbar below the table.

-
Choose whether you want to delete the documents from the workflow or from the archive.
-
Confirm by clicking Delete.
If the document was successfully deleted, a status report with a green bar appears. If the document was not deleted, a red bar appears. For both statuses, you receive further information.
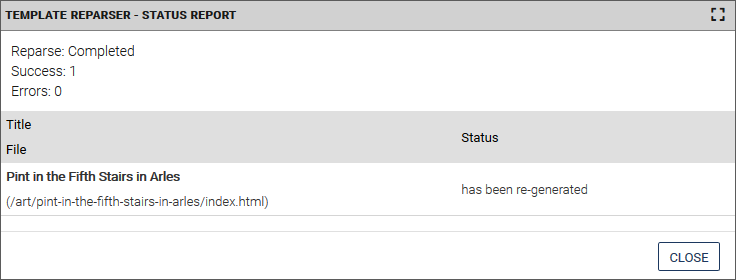
Start Template Reparser#
- In the Actions column, open the drop-down list with the action options for the document. Choose Reparse.
The Template Reparser status report opens.
Change document properties#
Document properties can be changed via the meta fields located in the details of the respective document.
Note
The imperia administrator can enable or disable metafields for editing.
- In the Actions column, open the drop-down list with the action options for the document. Choose Metaviewer.
In the Details dialog box, you can see the meta information of the document:
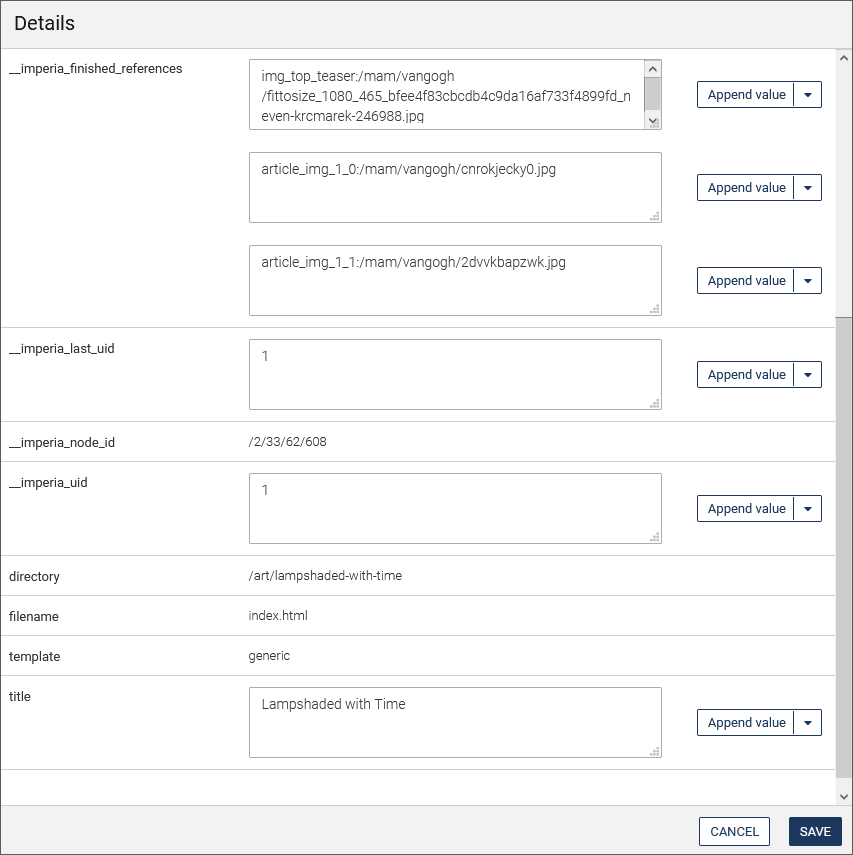
- Enter the desired values in the input fields or change existing values.
- Add another field within the metafield by clicking on Append value in the drop-down box behind a value.
- If necessary, delete a metafield by selecting the Delete metafield option in the drop-down box.
- Move the values within a metafield by selecting Move up, Move down or As last from the drop-down box.
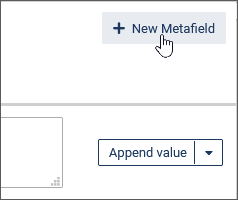
-
Create a new metafield for the document by clicking on New Metafield above.
-
In the dialog that opens, enter the name and then a value in the Metafield input field. Then click on Create to add the metafield.
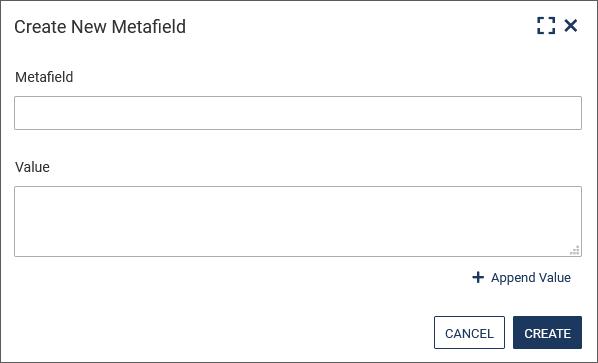
-
Save your entries by clicking on Save.
Show references#
This column shows whether the current document is referenced in another document.
- In the Actions column, open the drop-down list with the action options for the document. Choose References.
Note
Note that these references are only references in other documents and not assets to which the current document references. Referenced assets in the document can be viewed in the Info column under References.
Show differences#
Select this option to display the differences between the current version of the document and the last finished version. This function is part of the preview.
Publish document#
This option allows you to publish documents and assets. This is particularly relevant for assets: It can be used to publish assets independently of documents.
- Select the desired documents by selecting the check boxes in front of them.
- Execute the Publish option under the document table.

- Confirm the appearing security prompt with Publish.
This function can also be performed in MAM
Unpublish document#
Use this option to remove a document from all live systems. The document is still available in the Document Browser. Choose this option if you only want to remove the document temporarily.
- For a single document, execute the Unpublish option in the drop-down box in the Actions column.
- For several documents, select the desired documents by activating the check boxes in front of them.
- Execute the Unpublish option under the document table.

- Confirm the appearing security prompt with Unpublish.
If you want to delete a document from the Development system as well, use the Delete option. In this case, the document is then only available in the archive.
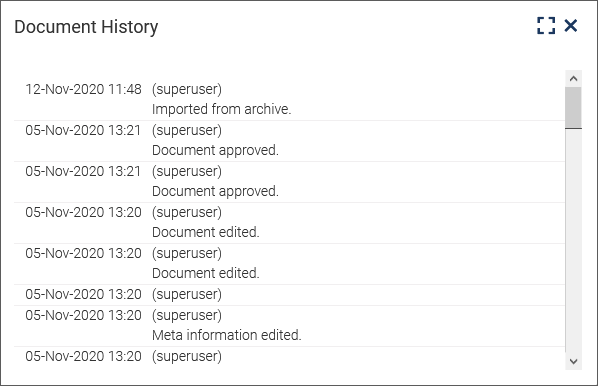
View the history of a document#
All stages of the document that it has gone through and the actions that have been performed with the document are recorded in the so-called "History" of the document. Every user who edits the document can create entries in the history or edit existing entries to provide other users with hints or leave comments.
- In the Actions column, open the drop-down list with the action options for the document. Choose History.
The history of the document is displayed read-only in a separate dialog.
Set dates for the life cycle of a document#
Apart from the "Publish" step in the workflow, you may also set the publish date, resubmission date and expiry date outside the workflow directly in the Document Browser.
Once a document has been finished and approved, it leaves the workflow and is published on the target system on the specified publish date. The expiry date indicates the date on which the validity of the document expires. The document is then deleted, but can be restored from the archive. The resubmission date defines the time at which the document content should be updated again.
-
Select the documents by activating the checkboxes in front of the respective documents.
-
Choose Change dates beneath the documents table.
- Tick the checkbox for the date type for which you want to specify the date.
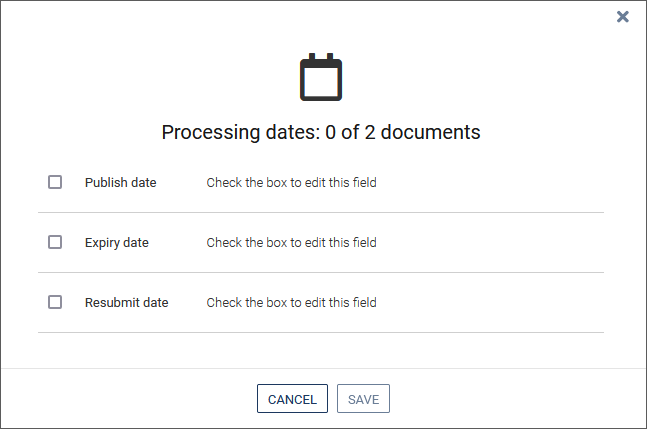
- Use either the drop-down lists or the calendar function to select the date and time.
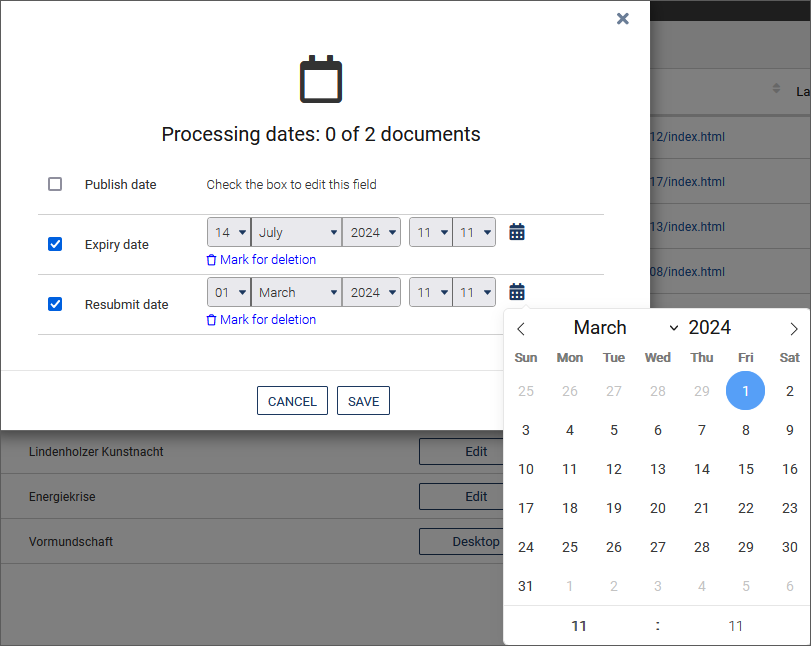
-
Click on the link Mark for deletion if the date entry is to be removed from the documents when the dates are changed.
-
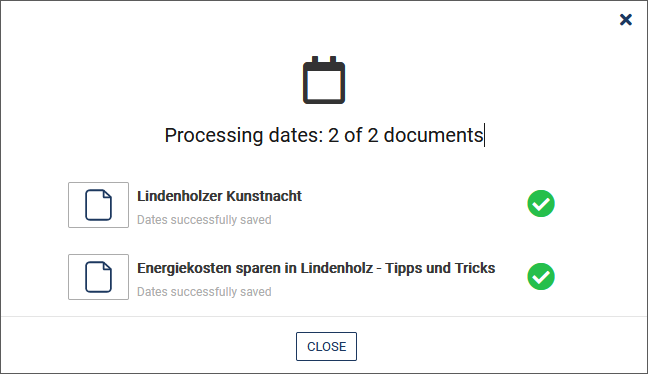
Click SAVE. With CANCEL you will get back to the document browser without saving the entries.
You will receive confirmation for which documents the changes have been made.