Dashboard
This chapter explains imperia's Dashboard management. The Dashboard is the start page in imperia that you can adapt to the different users' needs by adding widgets. For more information on how to work with the Dashboard see chapter The Dashboard in the user documentation.
By default, there are two predefined dashboards with already added widgets ("System Dashboard" and "Imperia Enterprise Content Management". The second one doesn't differ for the Super User but for all other groups.) You have the possibility of creating various Dashboards between the users can switch to.
All newly created dashboards are stored in a user file of the super user.
Creating a new Dashboard including widgets#
In the following you will be shown how to create Dashboards including widgets that fit to workflows of editors.
The main steps include:
- Creating new dashboard
- Adding widgets
- Assigning to group(s)
Note
All users that can assume the superuser group can create and assign Dashboards to other groups.
1. Create new dashboard
-
On the right side of the menu bar, mouse over settings. The sub menu opens.
Note
If you can't find the option: Click on the imperia logo in the upper left corner to land on the current dashboard and, then again, open the settings.
-
In the sub menu, click on the option Manage Dashboards. A dialog window opens:
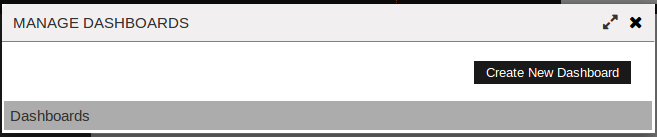
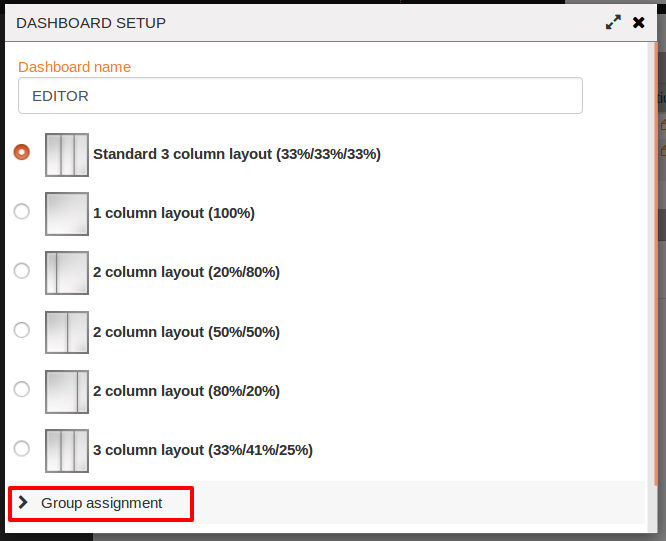
- In this dialog above, click on Create New Dashboard in order to create and edit the new dashboard. The dialog Dashboard setup opens:
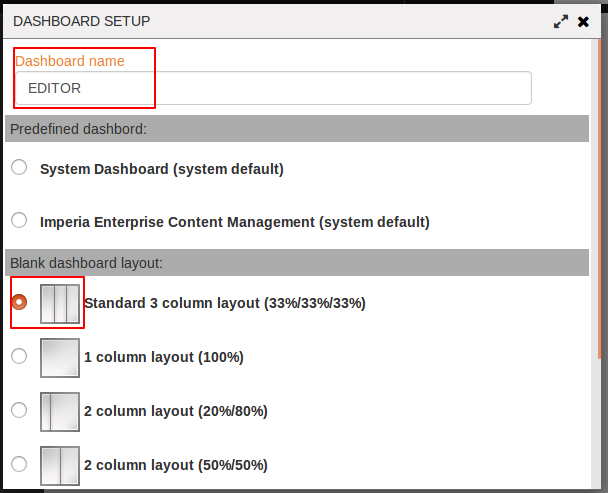
- In the field Dashboard name, change the name of the dashboard.
- Choose the layout:
- Either choose a predefined dashboard with already included widgets.
- Or choose a blank dashboard with fixed layout, i.e. columns.
- Click on Save at the bottom of the dialog window to save your selection. You will be forwarded to the (empty) dashboard.
You have created an empty dashboard. Now you can add the desired widgets to the dashboard:
2. Add widgets
- On the right side of the menu bar, mouse over settings. The sub menu opens.
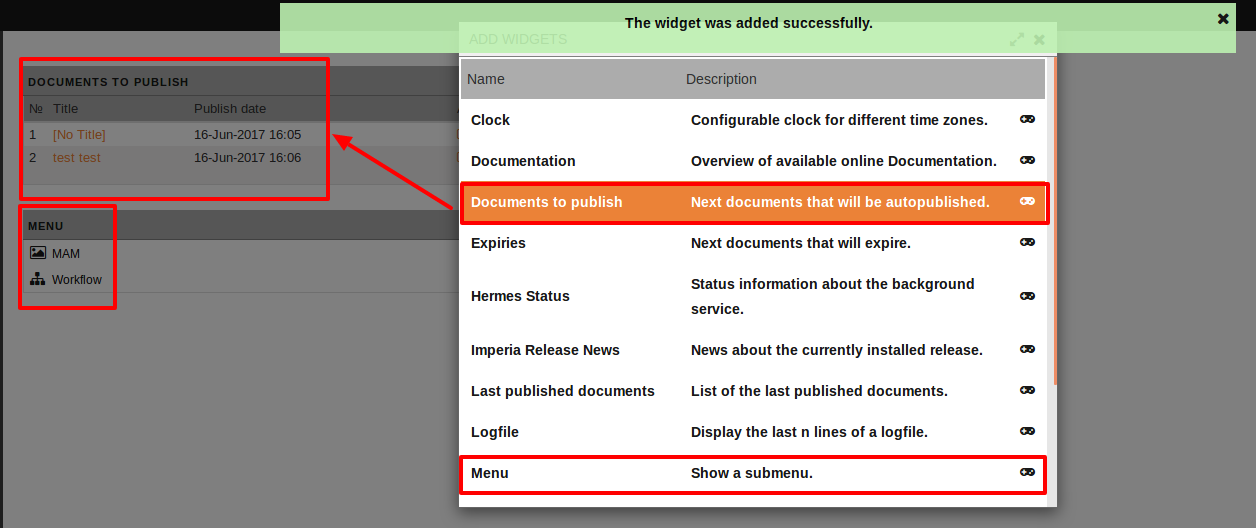
- In the sub menu, click on the option Add Widget. The dialog window Add Widgets opens:
- There, select the desired widgets that will be directly added on the top position of the new dashboard:
- After you have added all desired widgets, close the window.
- In the dashboard, you can then move the widgets to the desired positions (within the columns). To do so, drag the widget by the menu bar and drop it to the desired position:
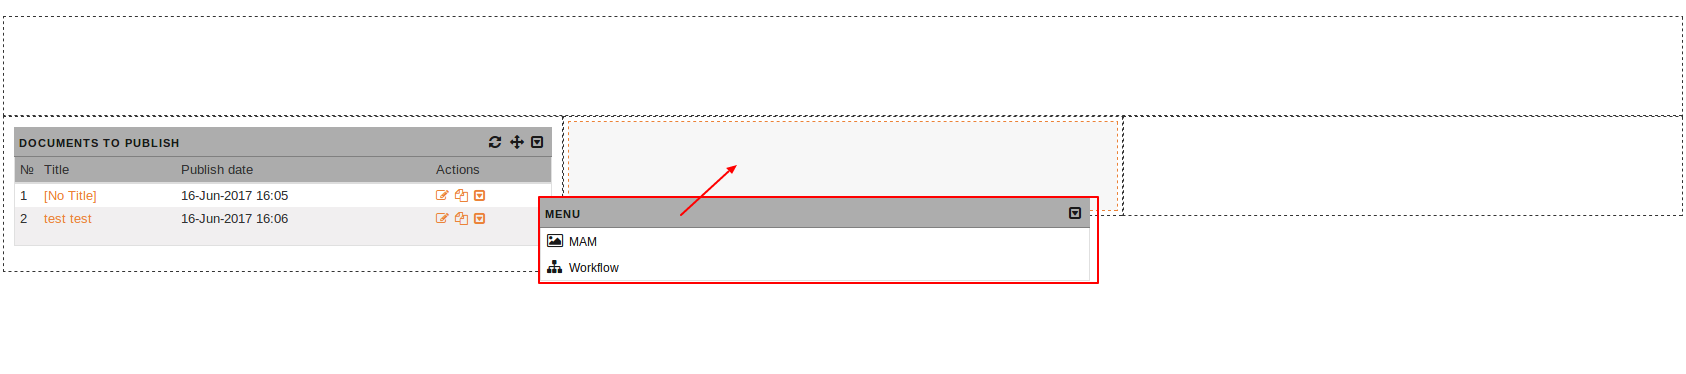
The dashboard is now created with the desired widgets. You can now assign the group(s) to the newly created dashboard.
3. Assign group
- Open again the dialog window Manage dashboards as described in the first step. There, in the list Dashboards you will find your newly created dashboard:
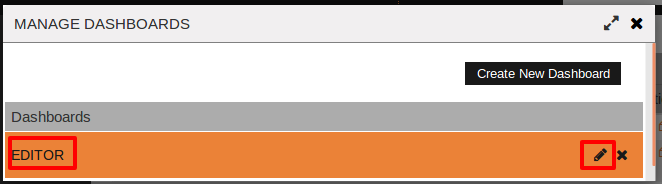
- At the right side of the dashboard, click on Edit. The dialog window Dashboard setup again opens, but now with the additional feature Group assignment:
- Open the group assignment. An additional field Select groups opens.
- Click into the field. A list with all available groups is displayed:
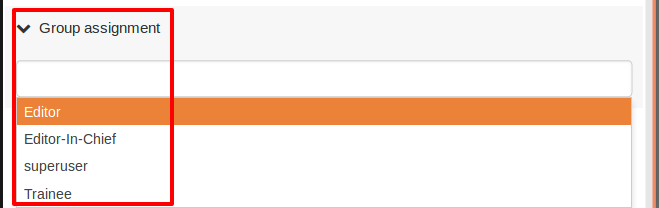
- In the list, select the desired group(s).
- Save your selection. The window closes automatically.
The created dashboard including the widgets is now available to the assigned group (in this example "Editor").
Please note
- As soon as the user of the according groups logs in, his/her dashboard will be automatically updated.
- The created dashboard will be also available in the list of predefined dashboards.
- Please consider that users are also able to change their personal dashboard individually.
Change Access Permissions to widgets#
Since not all groups should be able to access certain widgets, e.g. widget Hermes Status, on their Dashboard, imperia provides an easy way to manage permissions to widgets.
Please note
By default, all widgets are available to all users.
To change the access permissions to widgets, proceed as follows:
- On the right side of the menu bar, mouse over settings. The sub menu opens.
- In the sub menu, click on the option Add Widget. The dialog window Add Widgets opens.
- In the dialog Add Widgets, click at the end of the widget on to open the settings of the widget.
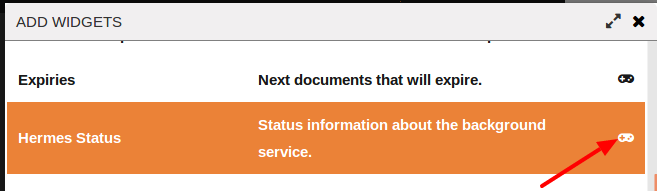
- In the new dialog you can now restrict the access to the selected widget:
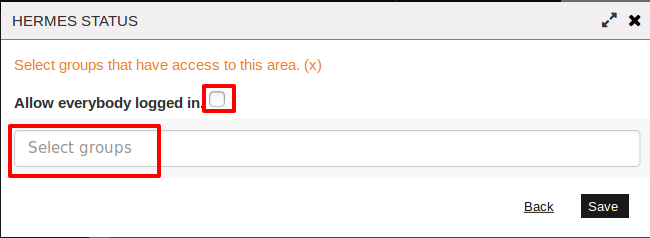
- Deactivate the checkbox Allow everybody logged in. An additional field Select groups opens.
- In this field you can select the desired groupd that should have access to the widget, i.e. for whom the widget should be available.
- Click Save at the bottom of the dialog.
Now, only the selected groups can see the widgets in the list Add Widgets.
For more information on individual widgets, their function and configuration, see Widgets in the user documentation.